
C. C. Designs August 2026 Release: Alcohol Marker Handmade Card Tutorial

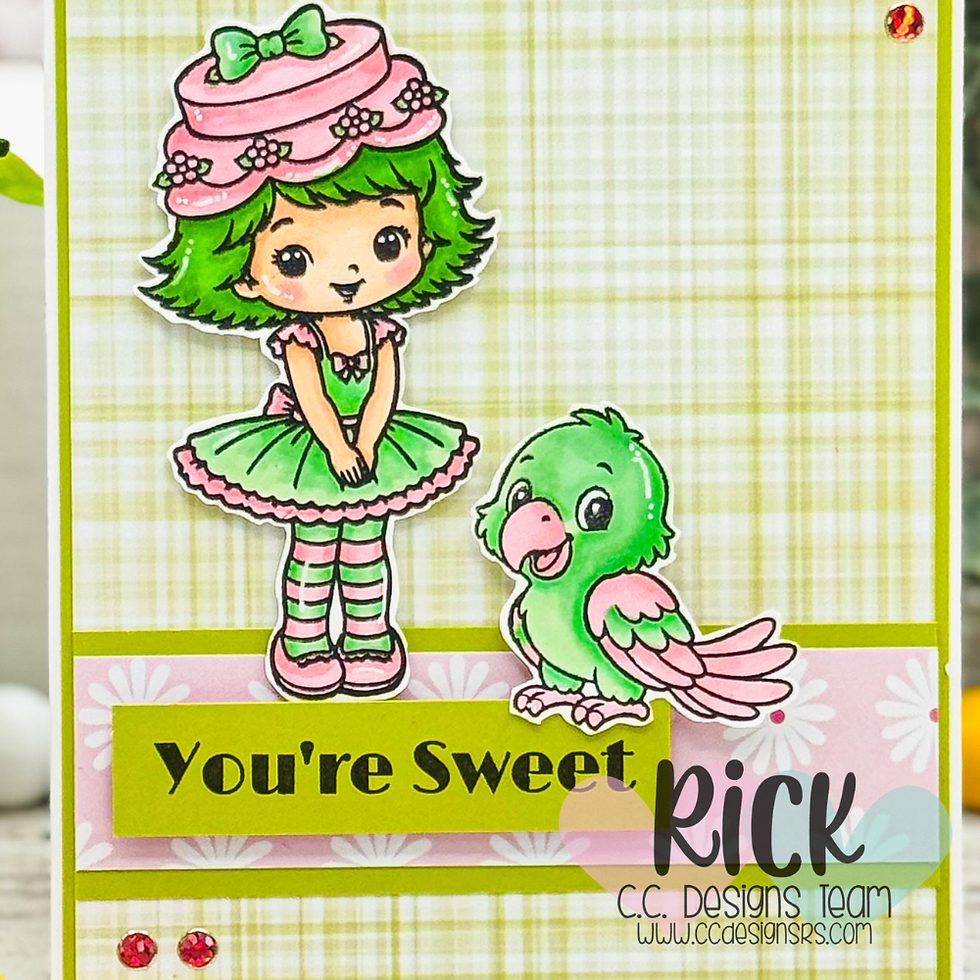
I love when a card starts with a simple idea and then grows into something that feels like a little scene on the front of the card. That was exactly what happened with this sweet “You’re Sweet” card featuring the new August 2026 release from C. C. Designs. The combination of whimsical stamped characters, soft pastel colors, and pretty pattern paper immediately made me think of a vintage-inspired springtime look. Rather than letting all of those elements compete for attention, I wanted to create a simple layout where the images and colors could do most of the work.

Creating a Balanced Handmade Card
One of my favorite parts of this card is the combination of the Berry Sweet A2 Paper Pad from Scrapbook.com with the stamped images. The soft green plaid gives me a subtle background without making the card feel busy, while the floral strip adds another layer of pattern and color. When I'm working with patterned paper, I try to remember that it doesn't always need to be the star of the card. Sometimes a quieter pattern is exactly what you need to help your focal image stand out.

The little character and parrot became my focal point, so I colored them with Ohuhu Honolulu Brush Markers using colors that were already present in the patterned paper. That's one of my favorite ways to make a card feel coordinated without having to search for the “perfect” colors. Pick two or three colors from your patterned paper and repeat them in your stamped images. It creates visual harmony almost automatically.

C. C. Designs August 2026 Release: Alcohol Marker Handmade Card Tutorial
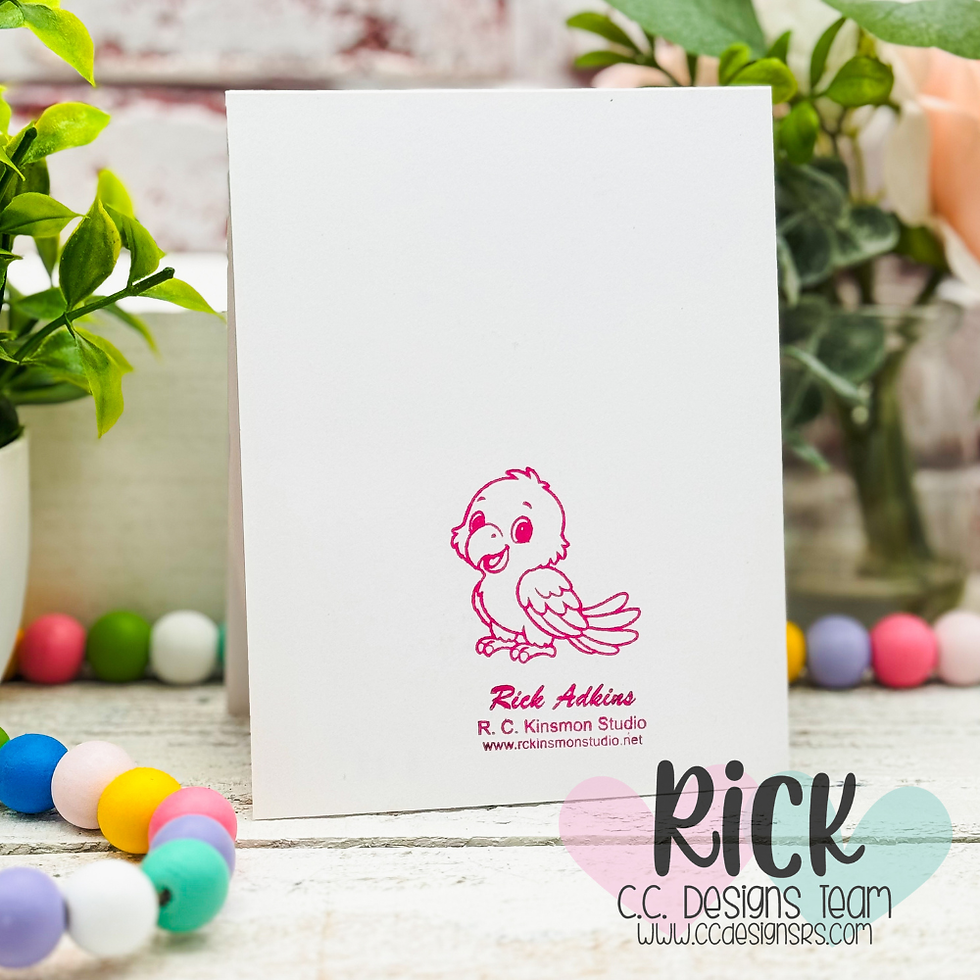
For this project, I used the Apricot Lime Clear Stamp Set for the main character, the mouse inside the card, and the inside sentiment. The parrot came from the Apple Purple Clear Stamp Set, while the front sentiment is from the Pony Berry Clear Stamp Set. All three are part of the C. C. Designs August 2026 release, and I really enjoyed mixing images from different sets rather than treating each stamp set as a separate project.
That's also a useful lesson when you're working with your own stash. Don't feel like you have to use every image from one stamp set together. Look through your collection for characters, animals, sentiments, or small accessories that share a similar style. Combining images from different sets can give older stamps a completely new purpose and can help you stretch the supplies you already have.

Why Fussy Cutting Works Here
I chose to fussy cut the colored images rather than simply leaving them stamped on a larger piece of cardstock. Cutting around the characters gives them a little more presence and lets me position them independently on the card. It also helps create the feeling that the characters are standing together rather than simply being part of a stamped panel.
If fussy cutting isn't your favorite technique, don't let that stop you from trying this idea. You can use coordinating dies when they're available, choose images with simpler outlines, or even stamp and color a single focal image directly onto your card panel. The important design principle is creating separation between your focal image and the background so the eye knows where to look first.

Make the Design Your Own
This layout would be easy to adapt for birthday cards, friendship cards, thank-you cards, or even seasonal projects. You could swap the patterned paper for something from your stash, change the color palette, or use a completely different stamped character. If you prefer a cleaner look, use just one patterned paper and leave more white space around the focal image. For a more layered card, try adding another narrow strip of coordinating paper or a simple die-cut border.
The biggest takeaway for me is that you don't need a complicated card layout to make a handmade card feel special. A well-chosen pattern, a few coordinated colors, and one or two carefully colored stamped images can do a lot of the design work for you. I hope this C. C. Designs August 2026 Release: Alcohol Marker Handmade Card Tutorial gives you a little inspiration to look through your own stamps and patterned paper and see what combinations you can create. Sometimes the best card ideas are already hiding in your craft stash!

Thanks for dropping by today I hope that you found a little spark of creative inspiration with my project today. Wondering what I used in this project? Everything is linked to multiple sources in the thumbnails in the Materials Used section, or in the text below. Compensated affiliate links used when possible.
Supplies Used
Here you will find the list of supplies that I used to create today's card. All supplies are linked to supply sources below. Compensated affiliate links may be used at no cost to you.
Happy Crafting,

Rick Adkins
Affiliate Disclaimer:
Just a friendly reminder, as part of my commitment to transparency, please note that some of the links provided maybe affiliate links. This means that if you make a purchase through these links, I may earn a small commission at no extra cost to you. Your support is truly appreciated!
Additionally, I kindly ask that you always accept the tracking cookie for the affiliate websites. Rest assured, this will not in any way expose your computer to viruses or compromise your information. It's simply necessary for the company to attribute the sale to the affiliate, ensuring creators like myself receive their rightful commissions.
Your trust and support enable me to continue sharing creativity through my email lists, blog, and YouTube channel. Thank you for being a valued part of our crafting community!


Comments