
A Popsicle Box Gets a Spooky Halloween Makeover

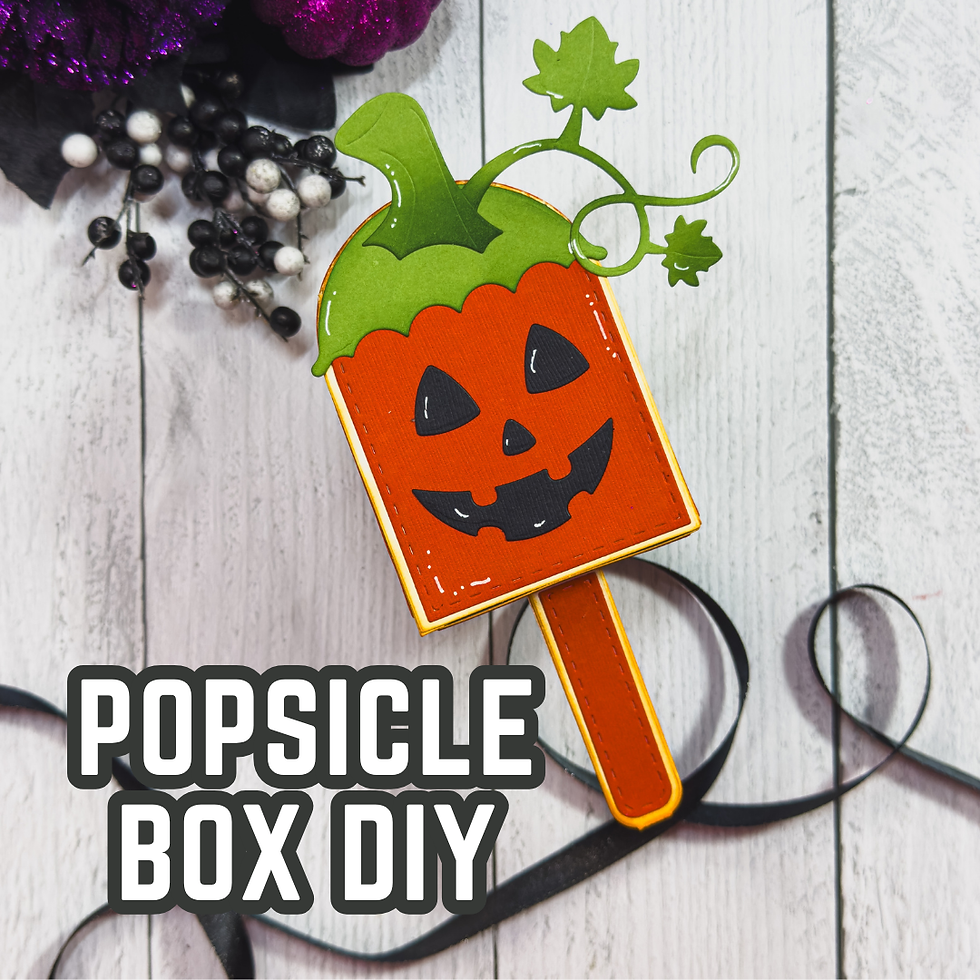
Halloween is one of my favorite times to let paper crafting get a little playful! For this project, I took a simple Popsicle Box Die from Pixi Dust Designs and gave it a spooky Frankenstein makeover. I’m always looking for ways to take a basic die and make it feel completely different through color, texture, and layering. The result is this fun Halloween treat box featuring CutCardStock papers, ink-blended die cuts, and lots of little details that bring Frankenstein to life.

A Popsicle Box Gets a Spooky Halloween Makeover
What I especially like about this project is that the box itself is fairly simple, but the decorative layers completely change its personality. I used Cougar Natural 100 lb Card Stock for the box base because I wanted a sturdy foundation. For Frankenstein, I chose Gum Ball Green Pop Tone Cardstock, Plum Purple DCS Discount Card Stock, Beetle Black Canvas Textured Discount Card Stock, Wild Cherry Pop Tone Discount Card Stock, Wedding Cake White Card Stock DCS Discount Card Stock, and Arrowhead Gray Pearlized Textured DCS Discount Card Stock. The combination of colors immediately says Halloween, while the different textures keep the project from looking flat or one-dimensional.

Why Ink Blending Makes a Difference
One of the easiest ways to make die-cut cardstock look more dimensional is to add a little ink around the edges. That is exactly what I did here with Distress Inks. Rather than leaving every piece as a solid block of color, I added subtle shading to the die-cut pieces before assembling them. This creates the impression of depth and helps the individual layers stand out. It is a useful technique far beyond Halloween projects, too. Try it on flowers, leaves, animals, clothing, or even simple geometric die cuts whenever you want a little more definition. My biggest tip is to start with a light hand. You can always add more ink, but it is much harder to take it away!

Let the Cardstock Do Some of the Designing
When I put together a project like this, I think about cardstock as part of the design rather than simply something I need to cut. The purple jacket gives Frankenstein a strong base, while the bright green face becomes the focal point. The black canvas texture works particularly well for his hair, and the pearlized gray cardstock gives the bolts a slightly metallic appearance. Even the small red details become more noticeable because they contrast with the green and purple. This is a great reminder that you do not always need more embellishments to make a project interesting. Sometimes choosing the right cardstock colors and textures can do most of the work for you.

Make the Idea Your Own
You also do not have to have the exact supplies I used to recreate the idea. If you already have a popsicle-shaped die, use it! If you have a different treat box die, think about how you could decorate the front with a Halloween character. No green cardstock? Try orange for a pumpkin, white for a ghost, or even a traditional monster combination using colors from your own stash. You can also simplify the layers if you are newer to die cutting, or add additional shading and details if you enjoy taking your paper piecing a little further. The goal is not to copy every detail. It is to look at the basic idea and figure out how you can make it work with the supplies you already have.

A Small Project with Plenty of Possibilities
This Frankenstein box is a great example of why I enjoy 3D paper crafting so much. A relatively small project can combine die cutting, ink blending, layering, and paper assembly while still being practical. At about 3 inches long × 2 1/2 inches across × 1 inch deep, it is a fun size for holding a few small Halloween treats or creating a handmade party favor. Most importantly, projects like this are an opportunity to experiment. Change the colors, add your own character details, or use a completely different theme. I hope this spooky little makeover encourages you to look at your dies and cardstock in a new way. What character would you create for your own Halloween treat box? Leave a comment and let me know—I’d love to hear your ideas!

Thanks for dropping by today I hope that you found a little spark of creative inspiration with my project today. Wondering what I used in this project? Everything is linked to multiple sources in the thumbnails in the Materials Used section, or in the text below. Compensated affiliate links used when possible.
Supplies Used
Here you will find the list of supplies that I used to create today's card. All supplies are linked to supply sources below. Compensated affiliate links may be used at no cost to you.
Happy Crafting,

Rick Adkins
Affiliate Disclaimer:
This post contains affiliate links. If you choose to shop through these links, I may earn a small commission at no extra cost to you. Thank you so much for supporting my business!


Comments