
A Little Birdie Told Me to Try an X Fold Card

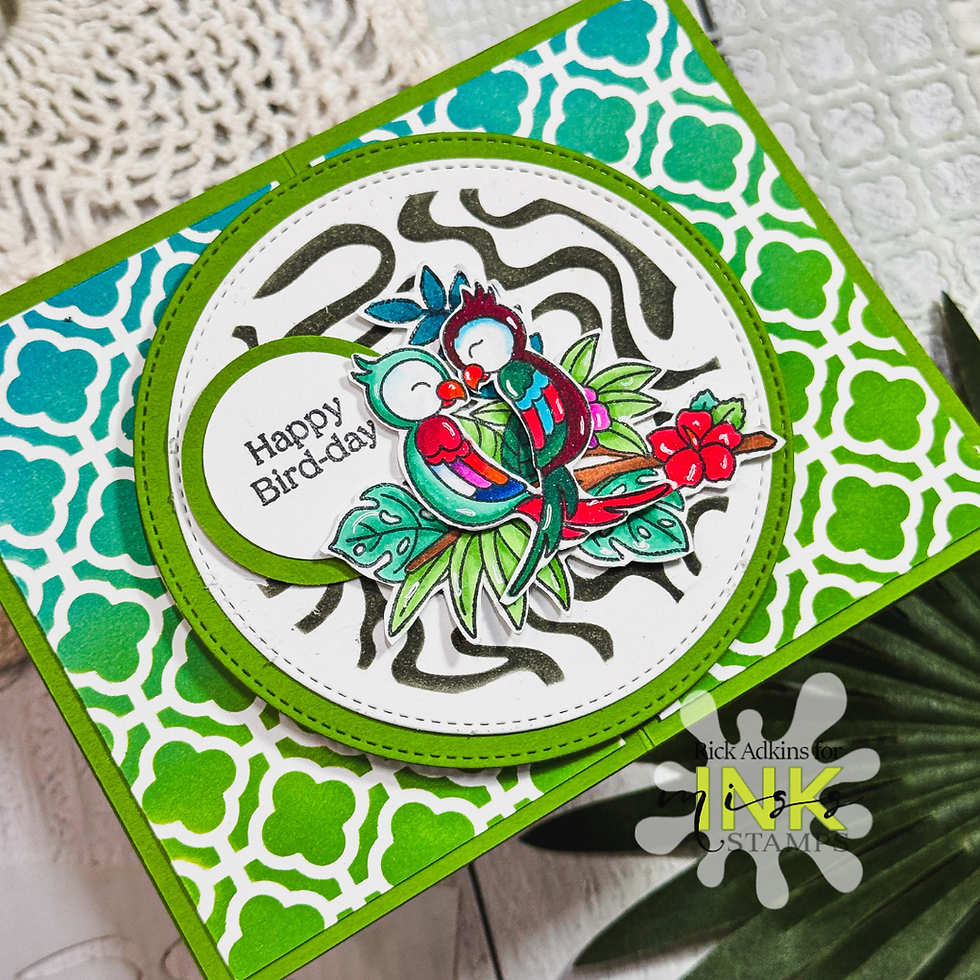
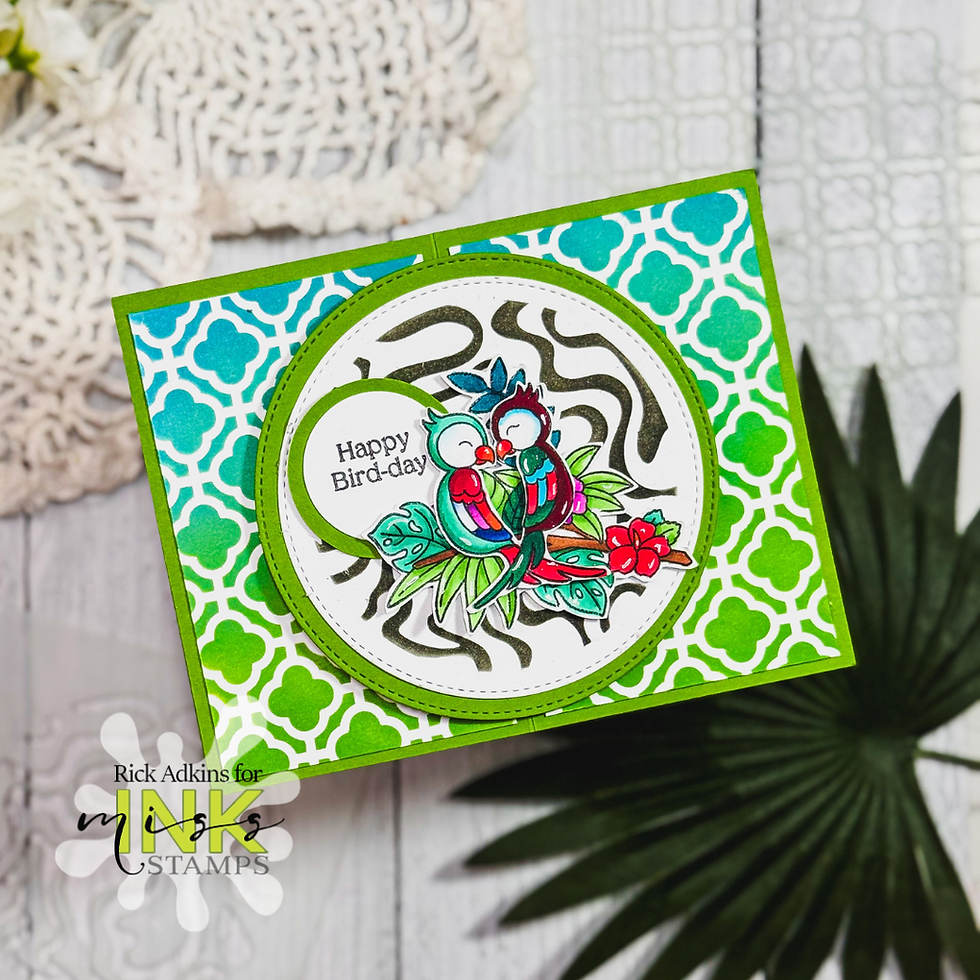
I’ll admit it: sometimes the best card designs start with a little nudge to try something different. That was definitely the case with this birthday card featuring the Pretty Bird Stamp Set from Miss Ink Stamps. I wanted to create something cheerful and colorful, but I also wanted the card itself to provide some of the interest. That led me to the X Fold Fun Fold Card. The finished design has a little more going on than a standard card, but the individual techniques are all approachable, making this a great project if you want to stretch your cardmaking skills without completely reinventing the wheel.

Why the X Fold Works So Well
What I particularly like about an X Fold is that the structure creates movement before you even add your stamped images. When the card is closed, the layers and circular focal point create a strong visual center. When it opens, the fold becomes part of the experience. For this card, I kept that focal point fairly concentrated because the background already has plenty of personality. The Quatrefoil Mask 6x6 Free with Purchase Stencil gives the card a bold geometric pattern, while the Zebra Circle 4x4 Thank You stencil adds a contrasting pattern behind the birds. Using two patterns can sometimes make a card feel too busy, so I relied on repetition in the color palette to help everything feel connected.

A Little Birdie Told Me to Try an X Fold Card
The Pretty Bird Stamp Set was perfect for the center of this design because the birds provide plenty of detail without requiring a complicated scene. I chose bright alcohol marker colors so the stamped images would stand apart from the green and turquoise background. I also decided to fussy cut the main images rather than simply coloring them in place. That small decision makes a surprisingly big difference. Once the birds are cut out, I can overlap them slightly and position them exactly where I want them, giving the focal point more dimension and helping it sit naturally on top of the circular layers.

Think About Contrast Before You Start Coloring
One of the biggest lessons I come back to when designing cards is that contrast does a lot of the work. You don't necessarily need more embellishments, more layers, or more techniques to make a card interesting. You need areas that are visually different from one another. Here, the geometric background contrasts with the organic bird and leaf images, while the white circular area gives the eye a place to rest. If your own card starts feeling a little too busy, try simplifying the background rather than removing the focal image you love. A softer ink-blended stencil pattern or a single background stencil could completely change the balance while keeping the same basic design.
Make the Design Work With What You Have
You certainly don't need these exact supplies to try the idea. The X Fold Fun Fold Card is the part I would keep because it gives you a great starting point, but the rest can easily be adapted to your stash. Look for a small group of images that can be colored and fussy cut, then pair them with a geometric stencil, background stamp, or even patterned paper. You could use flowers, butterflies, animals, or seasonal images instead of birds. And if fussy cutting isn't your favorite technique, choose a larger focal image that can be die cut or simply trim it into a rectangle or circle. The goal isn't to recreate my card exactly; it's to understand why the pieces work together so you can make the idea your own.

A Fun Fold Doesn't Have to Be Complicated
If you've been hesitant to try fun fold cards, I hope this project gives you a little encouragement. The X Fold looks impressive when it's finished, but the design principles behind it are the same ones we use on any handmade card: create a focal point, establish contrast, repeat a few colors, and give the eye somewhere to rest. For me, that's what makes experimenting with new cardmaking techniques so much fun. You learn the basic structure once, and then you can keep changing the stamps, colors, backgrounds, and occasion to create something completely different. Sometimes all it takes is a little birdie telling you to try something new!
Watch the Video
If you have problems watching the video here on my blog you can always watch it on the Miss Ink Stamps YouTube Channel by Clicking Here!
(Wondering what I used in this video? Everything is linked to multiple sources in the thumbnails at the end of this post, or in the text below. Compensated affiliate links used when possible). As always I appreciate your support of my videos!
Supplies Used
Here you will find the list of supplies that I used to create today's card. All supplies are linked to supply sources below. Compensated affiliate links may be used at no cost to you.
Happy Crafting,

Rick Adkins
Affiliate Disclaimer:
This post contains affiliate links. If you choose to shop through these links, I may earn a small commission at no extra cost to you. Thank you so much for supporting my business!


Comments