
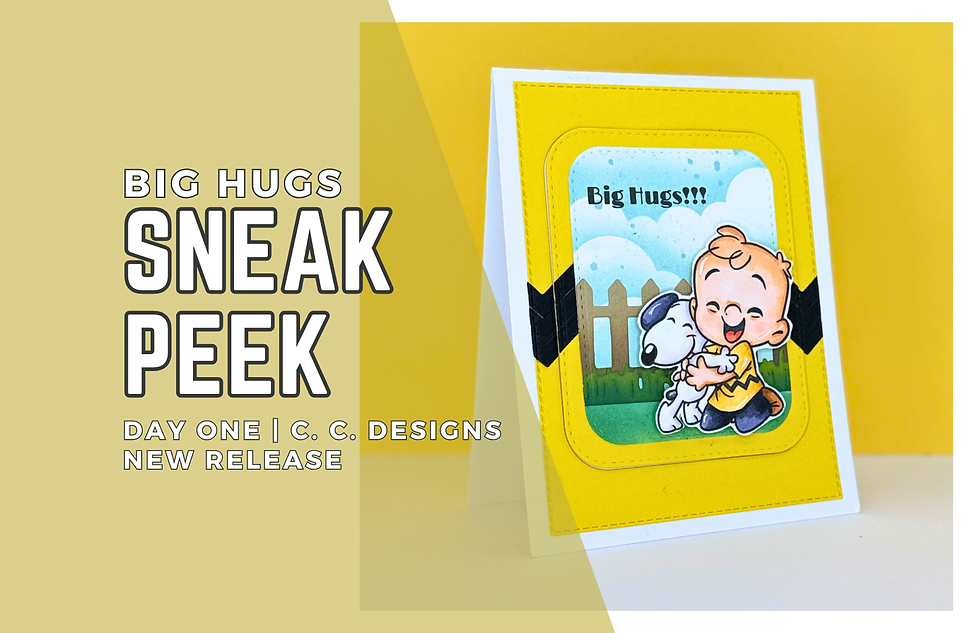
Big Hugs Sneak Peek Day One: C. C. Designs | New Release
- Rick Adkins

- Mar 12, 2025
- 5 min read
Updated: Mar 15, 2025
Hey, crafty friends! I'm so excited to share a sneak peek of the Charles Stamp Set from C. C. Designs. This new release is absolutely adorable — Charles hugging his dog Snoopy is just the sweetest image, and it makes for such a heartwarming card. I had so much fun creating this project, and I’ve got all the details for you today, including tips on layering die cuts, ink blending, and adding dimension to make your card really pop.
Creating a clean and layered card like this might seem tricky at first, but once you break it down, it’s all about building up the right elements to create a balanced design. Let me walk you through how this card came together — and I’ll share a few pro tips along the way to help make your process smoother.
Big Hugs:
Creating the Focal Image
I started out by stamping the image of Charles hugging Snoopy using Memento Tuxedo Black Ink onto a piece of Hammermill Smooth Cardstock. Memento is my go-to when I’m coloring with alcohol markers because it won’t bleed or smudge.
For the coloring, I pulled out my OLO Markers. If you haven’t tried these yet, they blend beautifully and give such a smooth, professional finish. I kept the coloring soft and natural — warm browns for Snoopy and soft shades for Charles' clothes to create a cozy feel. After coloring, I fussy cut the image and set it aside while I worked on the background.
Pro Tip: When fussy cutting, leave a small white border around your image. It helps it pop against the background and gives you a little more forgiveness if your cutting isn’t perfectly smooth.
Building the Background
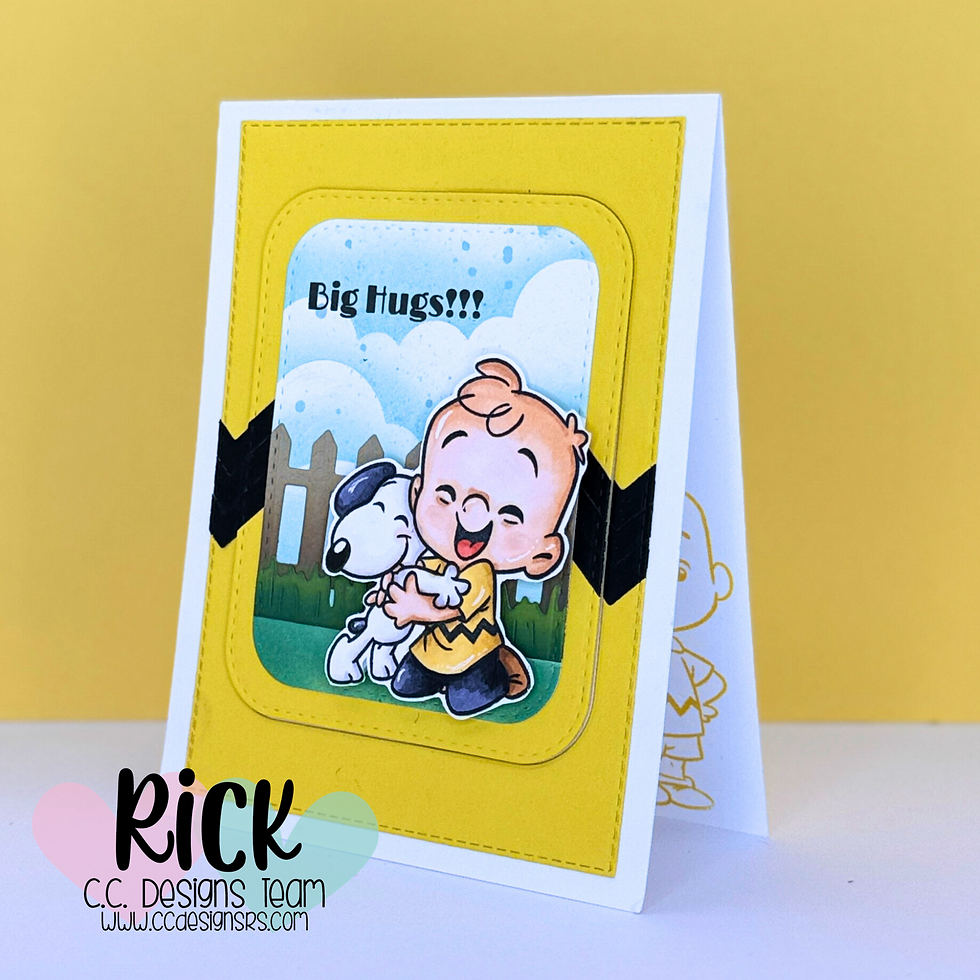
For the background panel, I went with Buttercup Cardstock — it’s such a warm, happy color that works beautifully with the soft tones of the image. To add some texture and interest, I used a set of Ric Rac Border Dies to cut out three zig-zag strips from Black Cardstock. Layering these zig-zags in the center of the card adds a playful, graphic element without overwhelming the design.
Once I had the ric rac pieces layered and glued down, I cut out the entire panel using a Stitched Rectangle Die — this gives the edges that neat, finished look. To create the window effect, I used a small Rounded Stitched Rectangle Die to cut out the center of the panel. This created a nice framed space for the scene.
Pro Tip: When cutting windows or frames, center your die carefully and use low-tack tape to hold it in place. This helps avoid any shifting when you run it through the die-cutting machine.

Creating the Scene
Next, I worked on the inner scene panel. I cut a piece of Hammermill Cardstock to fit behind the window and created a soft sky using the Cloudy Stencil and Speckled Egg Distress Oxide Ink. The light blue tone creates a subtle sky background without distracting from the main image.
To add a little texture, I flicked on some watered down Speckled Egg Distress Oxide Ink with a small paintbrush — just enough to create that soft speckled look. It’s a simple trick that adds so much depth.
I also cut some Parsley Cardstock with a grass die and a picket fence from Wheat Cardstock to build out the scene. To give them more dimension, I shaded the grass with Rustic Wilderness Distress Oxide Ink and added some Ground Espresso Distress Ink to the bottom of the fence for a weathered look.
Once the panel was dry, I cut it down with a Stitched Rounded Rectangle Die so it would fit perfectly behind the window.

Assembling the Card
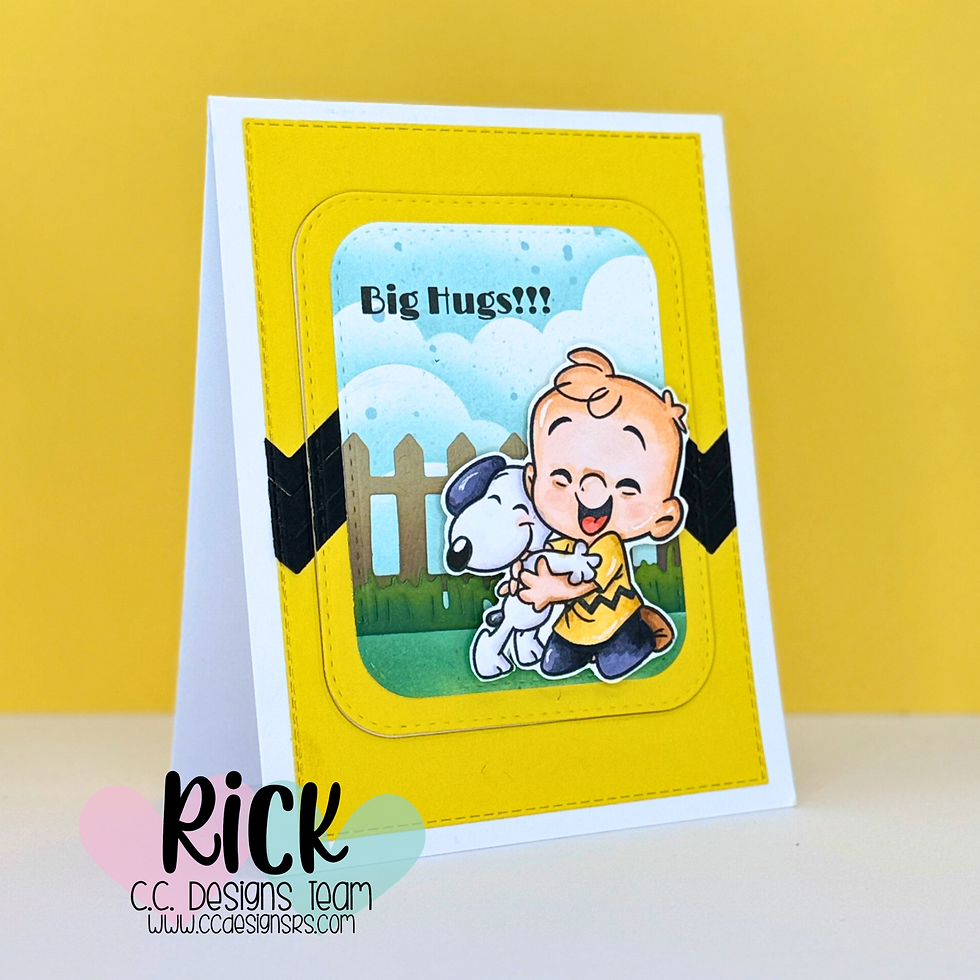
With all the pieces ready, it was time to bring everything together. I stamped the "big hugs" sentiment in the top left corner of the scene panel using Versafine Onyx Black Ink — it gives such a crisp, dark impression that stands out nicely against the soft background.
I attached the scene panel behind the window using 1mm foam tape to give it some dimension. Then, I added more foam tape behind the entire framed panel and attached it to a top-folding A2 card base.
Finally, I placed the colored image of Charles and Snoopy in the center of the window using foam adhesive — the layered dimension makes it feel like they’re popping right out of the scene.
Finishing Touches
To pull it all together, I added a few highlights with a white gel pen — on the cheeks, clothes, and even Snoopy’s fur. It’s a small detail, but those little highlights make the whole design feel more polished and complete.
Pro Tip: When adding white highlights, less is more. A few well-placed lines on the high points of the image (like cheeks and folds in clothing) can make a big impact without overdoing it.

Final Thoughts
This card came together so well — I love how the warm Buttercup background contrasts with the soft blues and greens in the scene. The Charles Stamp Set is such a sweet addition to the C. C. Designs lineup, and I can already see so many possibilities for different occasions with it.
If you’re looking for a way to add more dimension and interest to your cards, try combining die-cut frames, ink blending, and layered elements. It’s a great way to make your focal image stand out while keeping the overall design clean and balanced.
Stay tuned for more sneak peeks from this release — you won’t want to miss the next one!
Thanks for dropping by today I hope that you found a little spark of creative inspiration with my project today. Wondering what I used in this project? Everything is linked to multiple sources in the thumbnails in the Materials Used section, or in the text below. Compensated affiliate links used when possible.
Materials Used:
Here you will find the list of supplies that I used to create today's card. All supplies are linked to supply sources below. Compensated affiliate links may be used at no cost to you.
Happy Stampin'

Rick Adkins
Affiliate Disclaimer:
Just a friendly reminder, as part of my commitment to transparency, please note that some of the links provided maybe affiliate links. This means that if you make a purchase through these links, I may earn a small commission at no extra cost to you. Your support is truly appreciated!
Additionally, I kindly ask that you always accept the tracking cookie for the affiliate websites. Rest assured, this will not in any way expose your computer to viruses or compromise your information. It's simply necessary for the company to attribute the sale to the affiliate, ensuring creators like myself receive their rightful commissions.
Your trust and support enable me to continue sharing creativity through my email lists, blog, and YouTube channel. Thank you for being a valued part of our crafting community!


Comments