
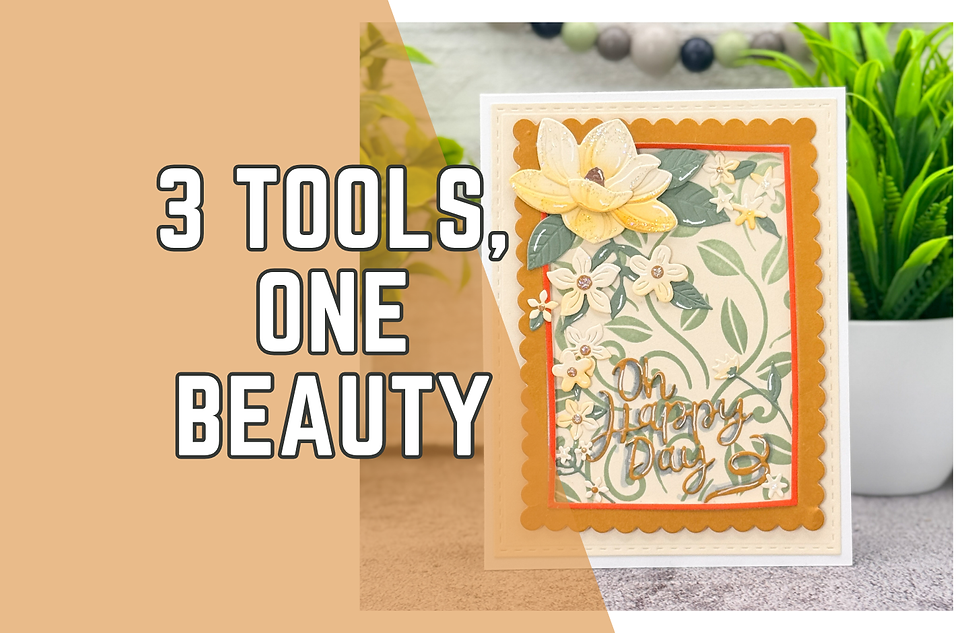
Can You Make This Stunning Card with Only Three Tools? | Miss Ink Stamps Magnolia Frame Die
- Rick Adkins

- Aug 2, 2025
- 5 min read
Updated: Oct 5, 2025
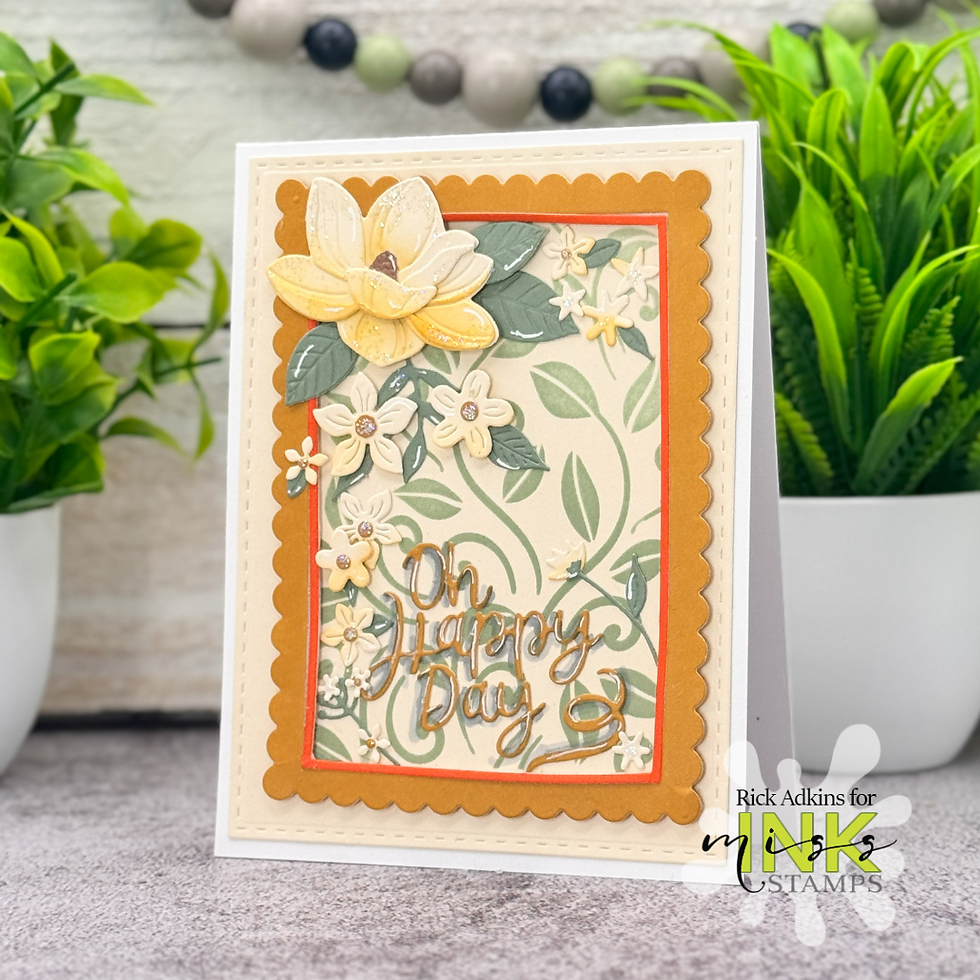
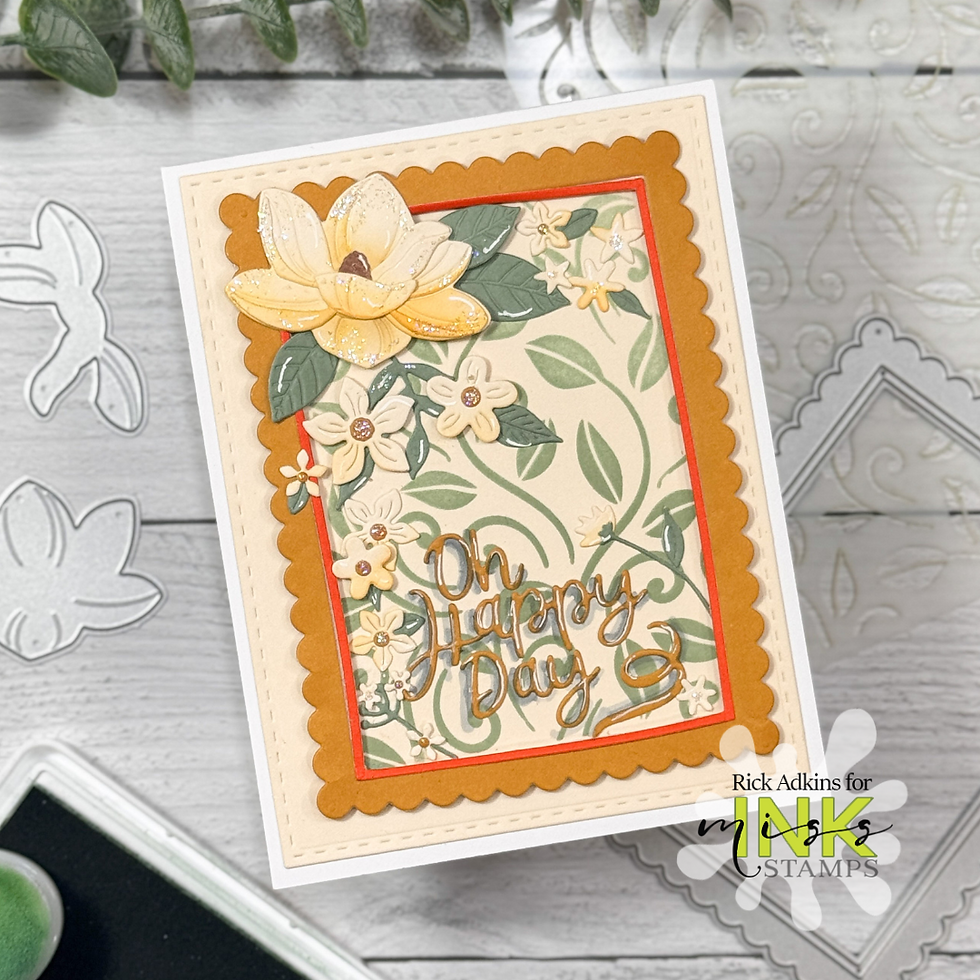
There are times in my craft room when I’m just staring at all my supplies, trying to decide where to start—and let’s be honest, that can be a bit overwhelming. So recently, I gave myself a little challenge: could I make a beautiful, dimensional, finished-looking card using just three tools? Spoiler alert: yes, and it turned out even better than I expected. It felt like going back to the basics—but in the best way possible. With just the Magnolia Frame Die Set, Oh Happy Day Frame Die Set, and the Leafy Swirls Stencil from Miss Ink Stamps, I ended up with a warm, elegant card that’s full of texture, soft color, and a few little surprises.
Can You Make This Stunning Card with Only Three Tools? | Miss Ink Stamps Magnolia Frame Die
Why Limiting Your Supplies Can Actually Spark Creativity
This card started as a creative exercise, but it quickly turned into one of my favorite projects this season. When we have too many tools at our fingertips, it’s easy to get caught up in trying to use all of them—which sometimes means the actual design gets lost. By narrowing it down to just three key products, I was able to really focus on intentional layering, controlled color, and simple details that made a big impact.
Think of it like cooking with just a handful of ingredients—you get to highlight the flavor of each one, and every element has its moment to shine. For this card, the Magnolia Frame Die is definitely the star of the show, but it wouldn’t look nearly as striking without the quiet texture of the Leafy Swirls Stencil in the background or the beautifully detailed frames from the Oh Happy Day Die Set grounding the design.
Creating a Warm & Subtle Background
I started by cutting a piece of cream smooth cardstock from the Spice 6 x 8 Smooth Cardstock Paper Pad. That cardstock has such a soft, rich tone—it pairs so well with autumn colors. I trimmed it to 4 1/4" x 5 1/2", then die cut it with the stitched rectangle from the Oh Happy Day Frame Die Set. That little stitched edge adds just enough polish.
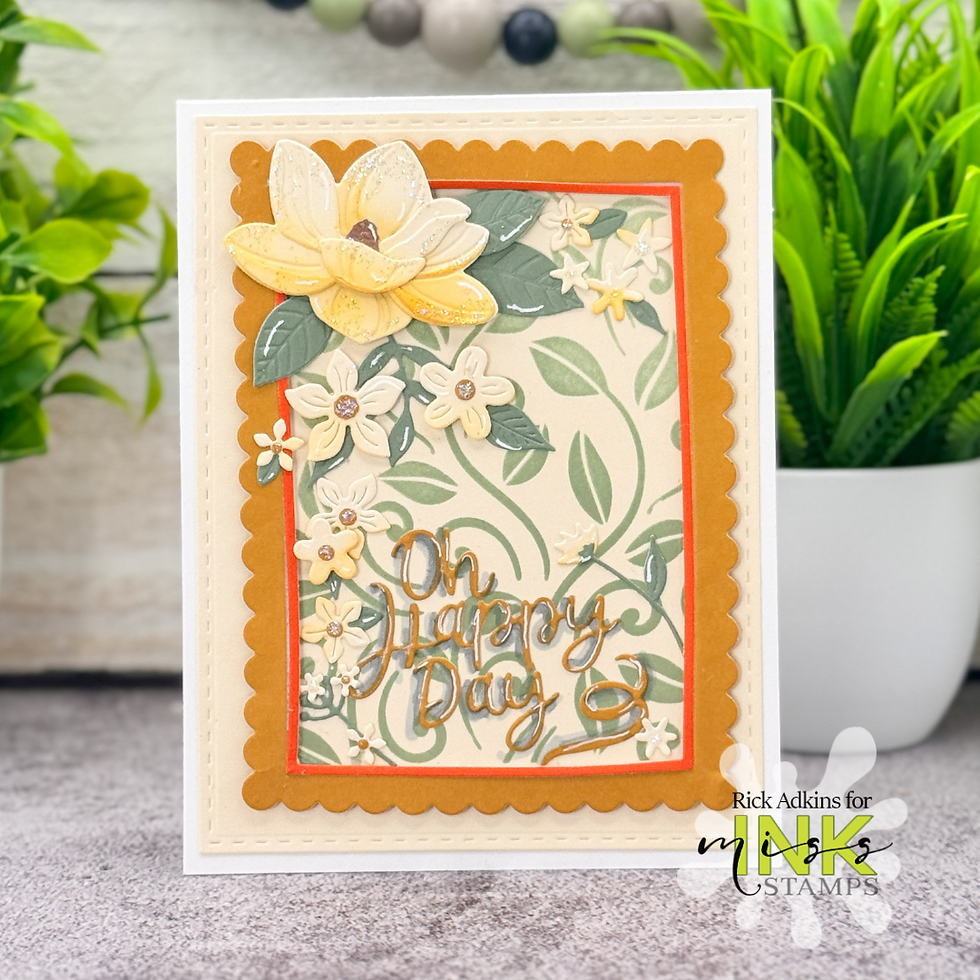
Next, I masked off the four edges and laid down the Leafy Swirls Stencil. Using Sage Ink, I blended gently over the stencil, keeping the pressure light and even. I didn’t want to overpower the background—I just wanted that suggestion of movement and texture to peek through. If you’ve ever walked through a garden early in the morning, that’s the kind of feeling I wanted this background to evoke—peaceful, fresh, and layered with quiet detail.
Pro Tip: When working with stencils and soft colors, using a larger blending brush can help you get that airbrushed effect with less effort. And don't clean your brush right away—there’s often just enough ink left to add subtle shading later on.
Frame It Up: Colorful Layers Without Bulk
Once the background was blended, I adhered it to a top-folding A2 card base made from Neenah Ultra Thick Cardstock. This cardstock is my go-to when I want a clean, strong foundation that holds up to extra layers.
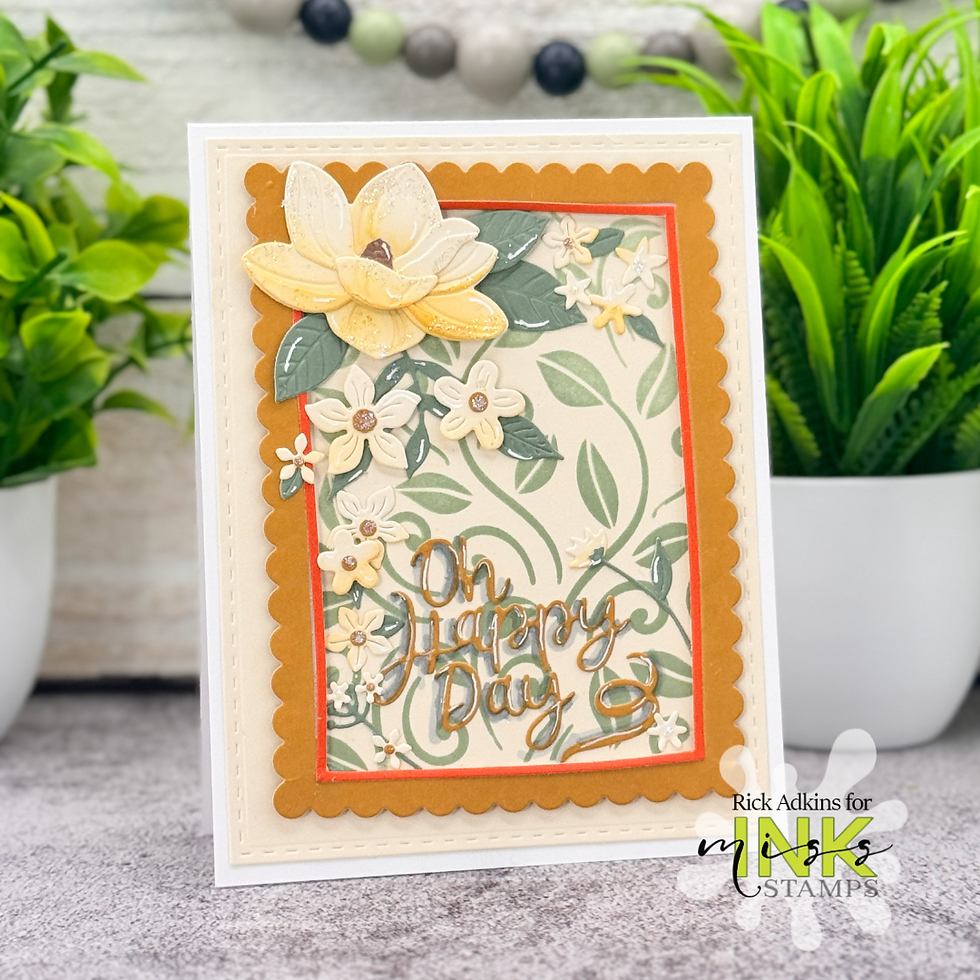
To frame the design, I used the scalloped die from the Oh Happy Day Frame Die Set and cut it from both the golden and pumpkin cardstock (also from the Spice paper pad). I love the mix of rich tones here—they instantly gave the card a cozy fall vibe without needing to add any patterned paper. I stacked the two frames together for some contrast, and popped them up with foam tape to give the card more dimension.
The Magnolia: Elegant and Easy
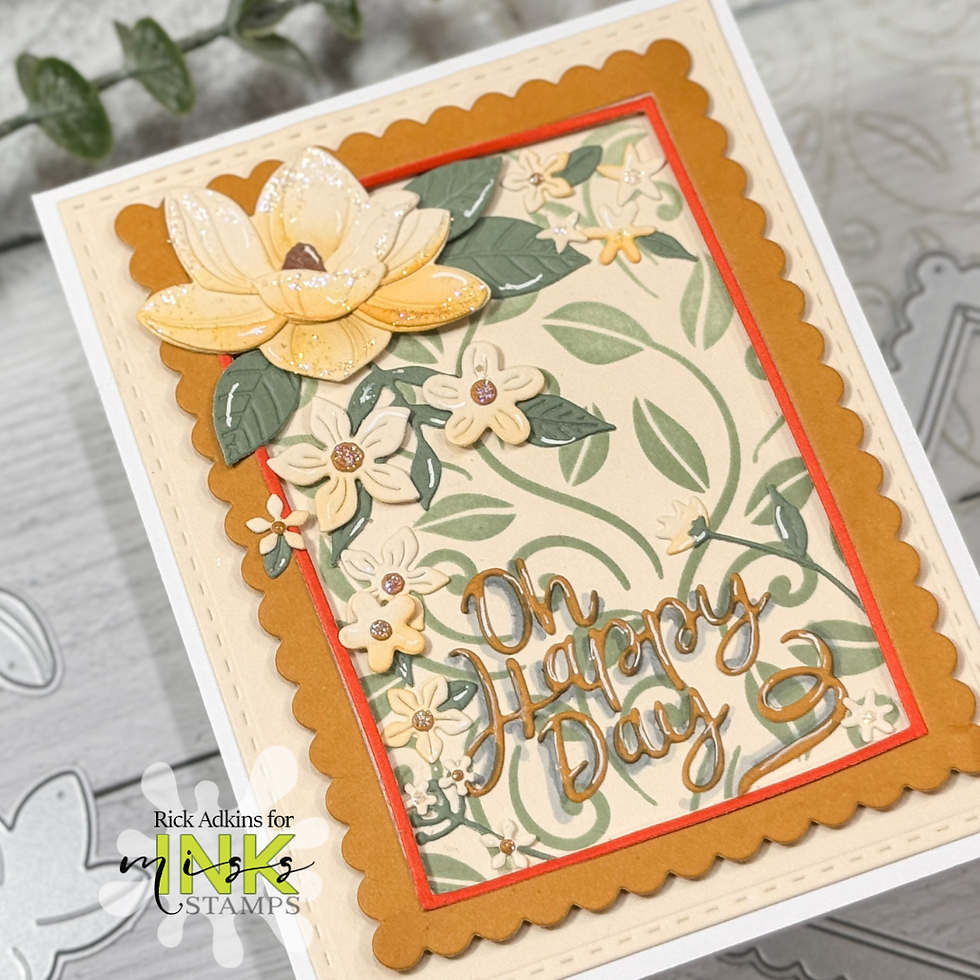
The Magnolia Frame Die Set was the focal point for this project—and honestly, this die makes it so simple to get a layered floral look without any stamping or coloring required (unless you want to, of course). I cut all the pieces from the same cream cardstock used for the background. Then, using just the leftover ink on my Dried Marigold Oxide blending brush, I brushed a bit of soft color onto each petal layer. It was just enough to give it some warmth and life, without needing to fully blend or color anything in.
Pro Tip: When using cream or white cardstock for die-cut florals, try brushing leftover ink from your stenciling brush onto the edges of your petals. It keeps your color palette consistent and gives your florals more depth—without having to reach for more supplies.
I assembled the flower and adhered it slightly off-center in the top left corner, leaving room for a few accents. I added smaller die cut flowers from the Oh Happy Day Frame Die Set in the same warm cardstock tones, along with a few die cut leaves for balance.
Final Details: Sentiment and a Bit of Sparkle
To finish things off, I die cut the sentiment “Oh Happy Day” from the same golden cardstock and placed it near the bottom of the card. I love when a die cut sentiment can nestle right into the design without overpowering the focal point.
For just a touch of sparkle, I added Stardust Stickles to the center of the flowers and popped in a few white gel pen highlights here and there. It’s a small step, but it really pulls everything together and adds a handmade touch that feels special.
Wrapping It All Up
This card ended up being such a fun surprise. What started as a challenge—to only use three main tools—turned into a design I truly love. If you’ve been feeling a little overwhelmed in your craft space lately, I encourage you to try something similar. Pick just a few products, and give yourself permission to play within those limits. You might be amazed at how much creativity that opens up.
And if you do give this a try, I’d love to know—what three tools would you choose?
Can You Make This Stunning Card with Only Three Tools? | Miss Ink Stamps Magnolia Frame Die Video Tutorial:
If you have problems watching the video here on my blog you can always watch it on my YouTube Channel by Clicking Here!
(Wondering what I used in this video? Everything is linked to multiple sources in the thumbnails at the end of this post, or in the text below. Compensated affiliate links used when possible). As always I appreciate your support of my videos!
Materials Used:
Here you will find the list of supplies that I used to create today's card. All supplies are linked to supply sources below. Compensated affiliate links may be used at no cost to you.
Happy Stampin'

Rick Adkins
Affiliate Disclaimer:
Just a friendly reminder, as part of my commitment to transparency, please note that some of the links provided maybe affiliate links. This means that if you make a purchase through these links, I may earn a small commission at no extra cost to you. Your support is truly appreciated!
Additionally, I kindly ask that you always accept the tracking cookie for the affiliate websites. Rest assured, this will not in any way expose your computer to viruses or compromise your information. It's simply necessary for the company to attribute the sale to the affiliate, ensuring creators like myself receive their rightful commissions.
Your trust and support enable me to continue sharing creativity through my email lists, blog, and YouTube channel. Thank you for being a valued part of our crafting community!


Comments