
Celebrate with a Dragon-Sized Birthday Surprise!
- Rick Adkins

- Jul 27, 2025
- 5 min read
Updated: Oct 5, 2025
Hello crafty friends! Today I’m sharing a birthday card project that truly feels like a celebration on paper — full of color, texture, and one adorable little dragon ready to party. If you’ve ever sat down with a stack of stamps and patterned paper and felt a little overwhelmed about where to start, this post is for you. I used a few of my favorite go-to tricks to keep things cohesive and fun without going overboard — all while playing with some super cute products from The Rabbit Hole Designs.
I used the Dragon Fun Bundle, Year 4 Birthday Stamp Set, Year 4 Birthday Outline Dies, and the Clouds in My Coffee Stencil to create this festive birthday card, and I pulled my entire color scheme from just one patterned paper. Let me show you how that one small choice guided everything else.
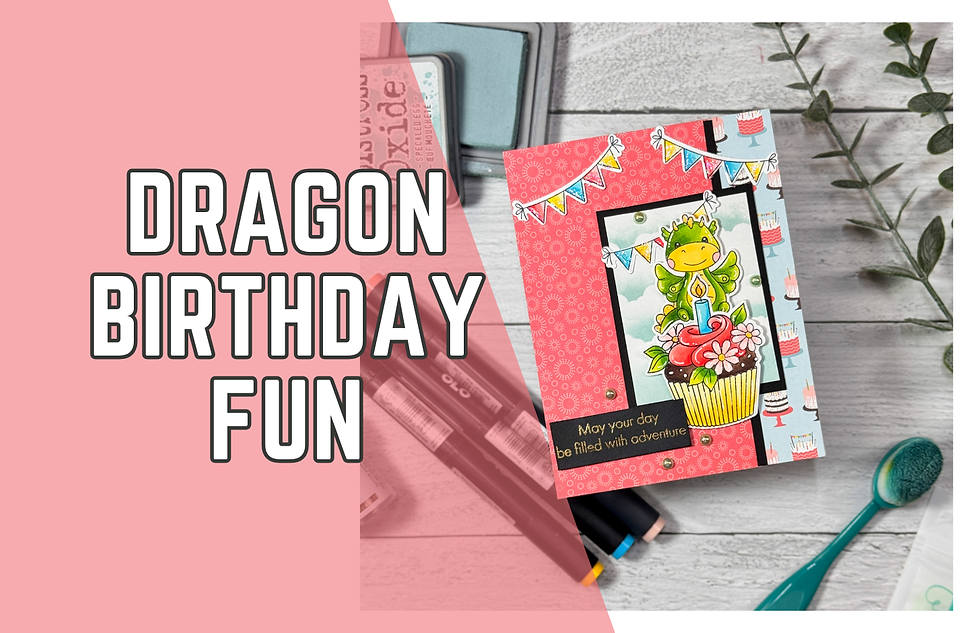
Celebrate with a Dragon-Sized Birthday Surprise!
Start with Patterned Paper for an Easy Color Roadmap
Before I ever stamped an image or picked up a marker, I started with patterned paper. I knew I wanted the card to feel playful and celebratory, so I reached for the Echo Park Birthday Girl collection. There’s a bright, happy print in the pack called Cakes & Candles that’s full of pinks, blues, yellows, and greens — it instantly made me think, “That’s my color palette.”
This is one of my favorite ways to jumpstart a project: let a piece of patterned paper do the hard work for you. I’ve found that when I pull marker colors to match my patterned paper, everything just flows. There’s no second-guessing if that pink is too red or that green is too bold — the paper has already made the choice for me.
For this card, I pulled my OLO Markers in B2.2 and B2.4 for blues, R0.1, R0.2, R0.3 and R0.4 for reds/pinks, Y2.2 and Y2.3 for yellows, and YG1.2, YG1.4, YG1.6 for greens. I even used a warm brown combo — O7.7 and O7.8 — for the cupcake base, which helped tone things down a bit.
Pro Tip: If you're ever stuck on color combinations, pick a patterned paper you love and pull your marker colors from there. It saves so much time and ensures everything works together beautifully.
Coloring the Party Pieces
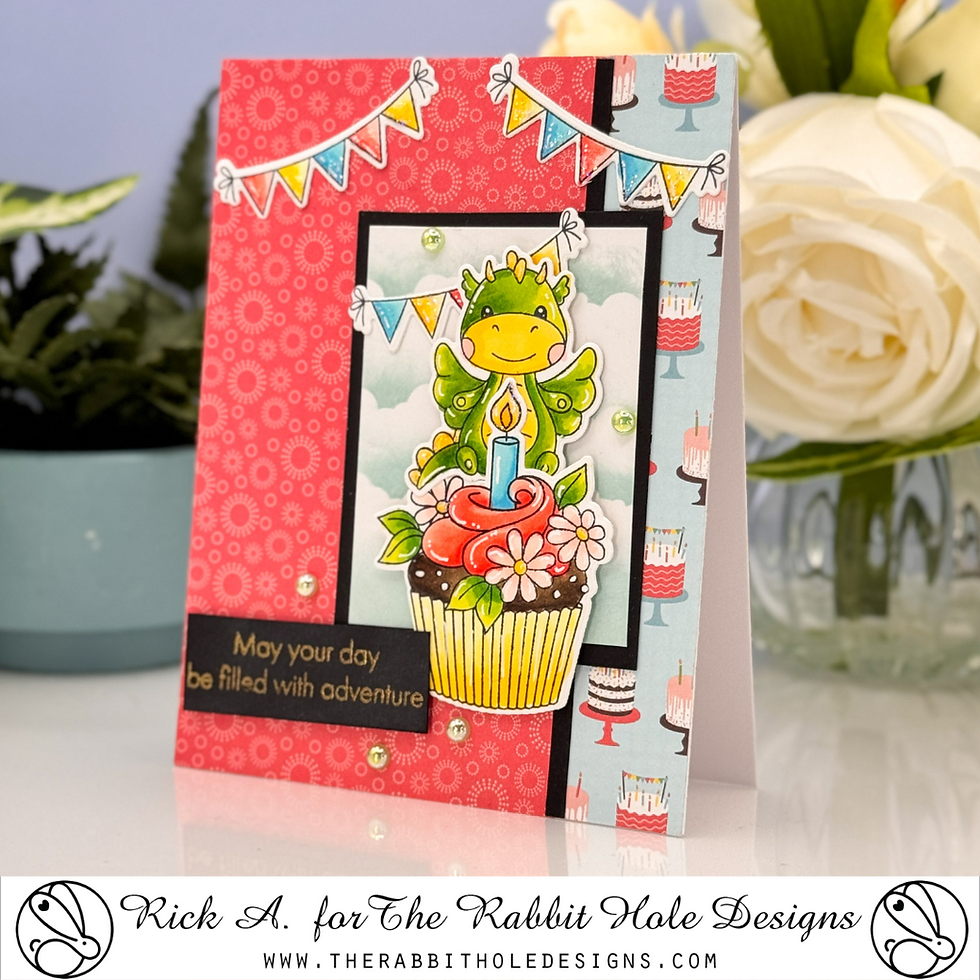
I stamped the seated dragon from the Dragon Fun Stamp Set, the birthday cupcake, and three of the fun banner images from the Year 4 Birthday Stamp Set using Memento Tuxedo Black Ink on Hammermill Smooth Cardstock — it’s my favorite for alcohol marker coloring because of how well it handles blends.
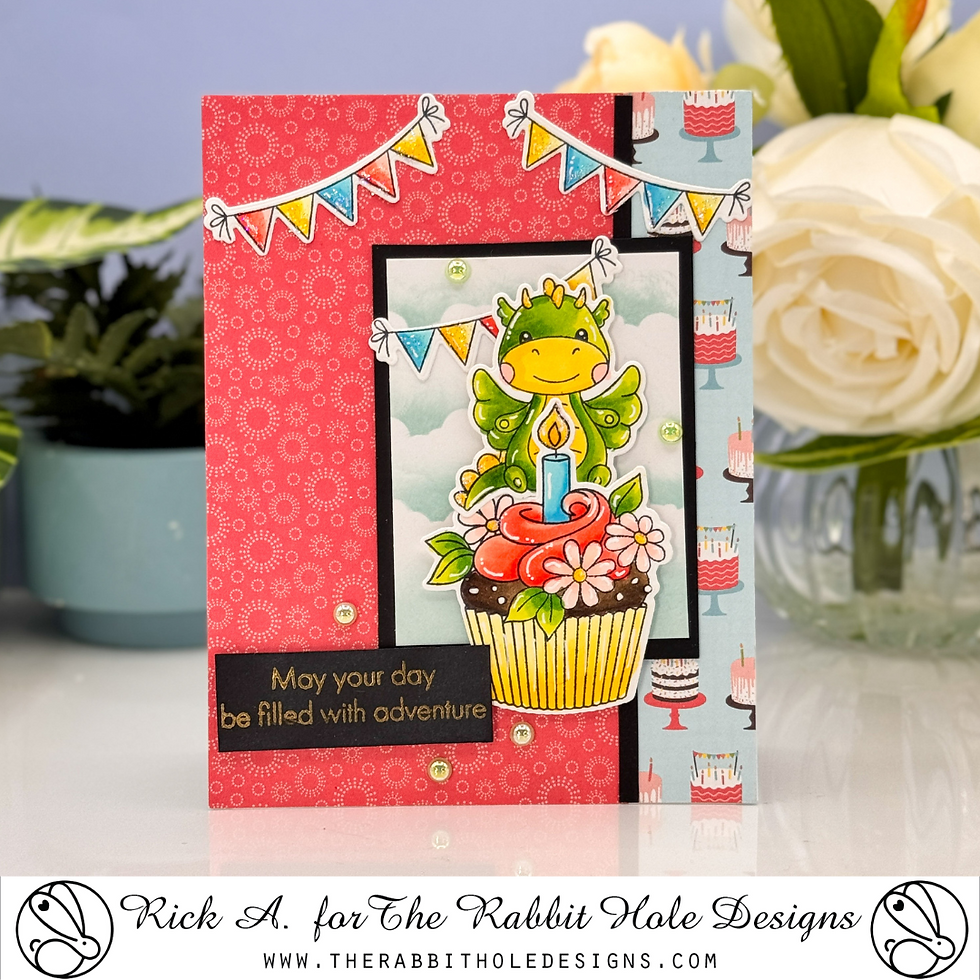
There’s just something so satisfying about coloring a cupcake with layered icing and little decorative flowers. I started with that image first — it felt like the easiest place to warm up. The icing got warm pink tones, the cake base went warm brown, and I added a pop of blue for the candle with a golden yellow flame. The tiny banners were quick to color too, and I stuck to the color combos I pulled from the paper to keep things looking unified.
The dragon might be my favorite part. He’s the perfect size for a focal point and looks so cute perched behind the cupcake. I gave him soft green scales with sunny yellow accents on his belly, spikes, and horns. Once everything was colored, I used the coordinating dies to cut out each image. I always appreciate when dies are perfectly sized and give that neat finish around the edges.
Light, Layered Background with Just One Stencil
With all the elements ready, it was time to build a background — but I didn’t want it to compete with everything else. I used the Clouds in My Coffee Stencil and a soft blend of Speckled Egg Distress Oxide Ink over a small panel of Bristol Smooth Cardstock. Just a few soft swirls of color gave me the perfect little sky backdrop for my scene.
I matted that ink-blended panel onto Midnight Black Cardstock to help it pop off the card base — a simple framing trick that adds contrast without being too bold.
Pro Tip: When working with colorful stamped images and patterned paper, keeping your background soft and subtle allows your focal point to shine.
Balancing Pattern and Whimsy
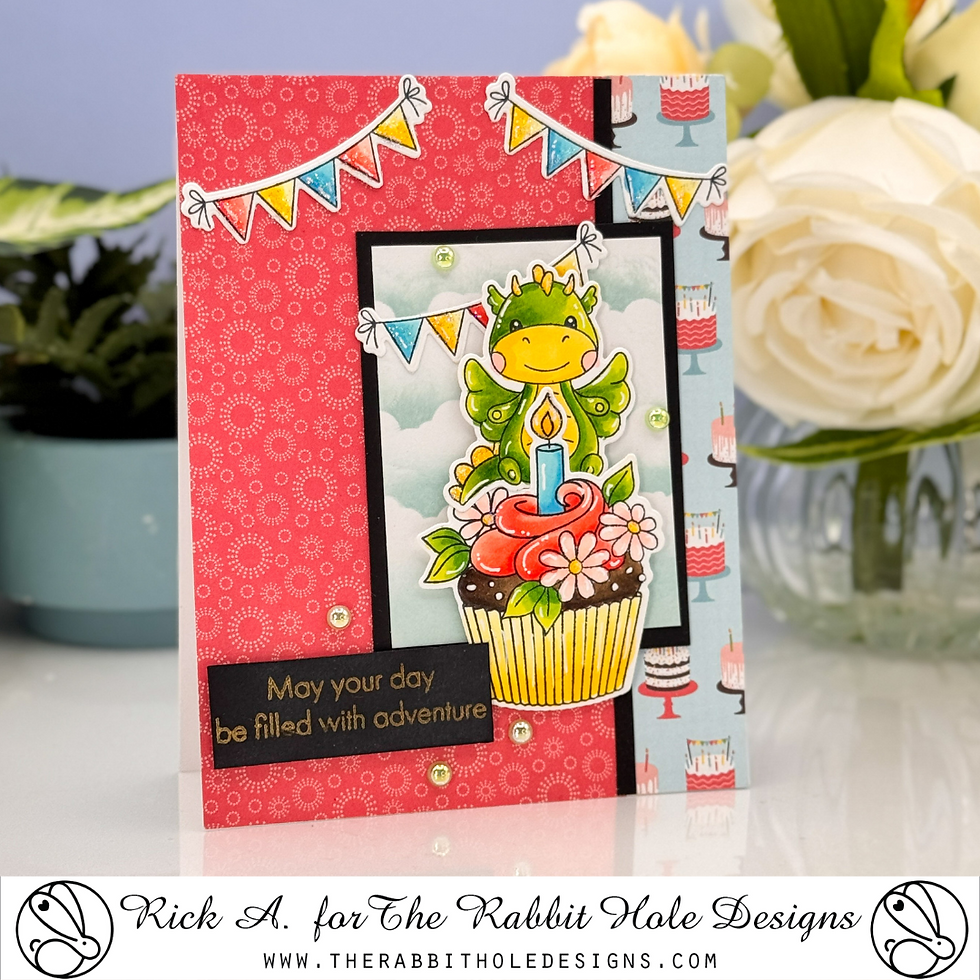
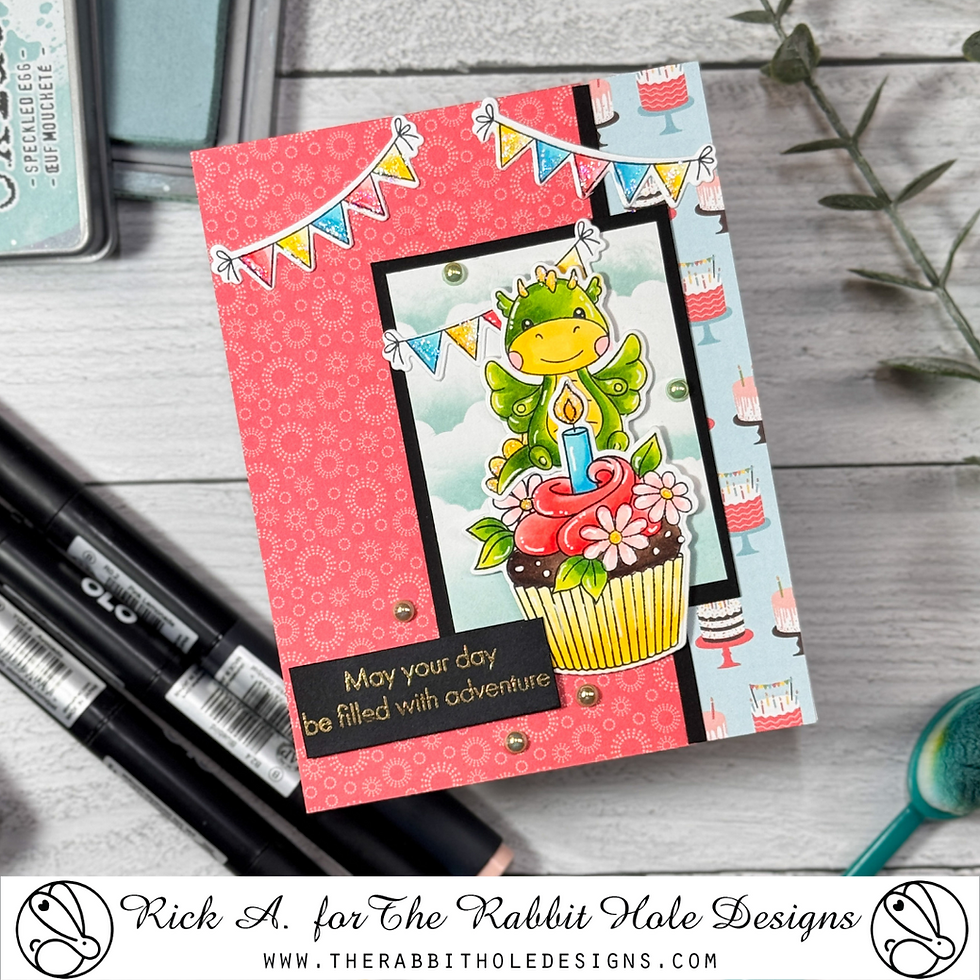
To assemble the base, I created a top-folding A2 card from Neenah Ultra Thick Cardstock. On the left-hand side, I added a strip of the tone-on-tone pink print from the Echo Park Birthday Girl pack and paired it with a strip of the bolder Cakes & Candles print on the right. I added a narrow strip of black cardstock where the two papers met — it acts like a seam to give everything a clean edge and keeps the layers from feeling chaotic.
From there, I adhered the matted cloud panel onto the card base and started building the scene. I popped the cupcake up with foam adhesive and tucked the dragon just behind it, slightly angled to look like he’s peeking around it. The banners went behind his head and in the top corners of the card to create a visual triangle.
There’s a lot happening on this card, but because the color palette is controlled, it doesn’t feel overwhelming.
All That Sparkles — Finishing Touches That Add Magic
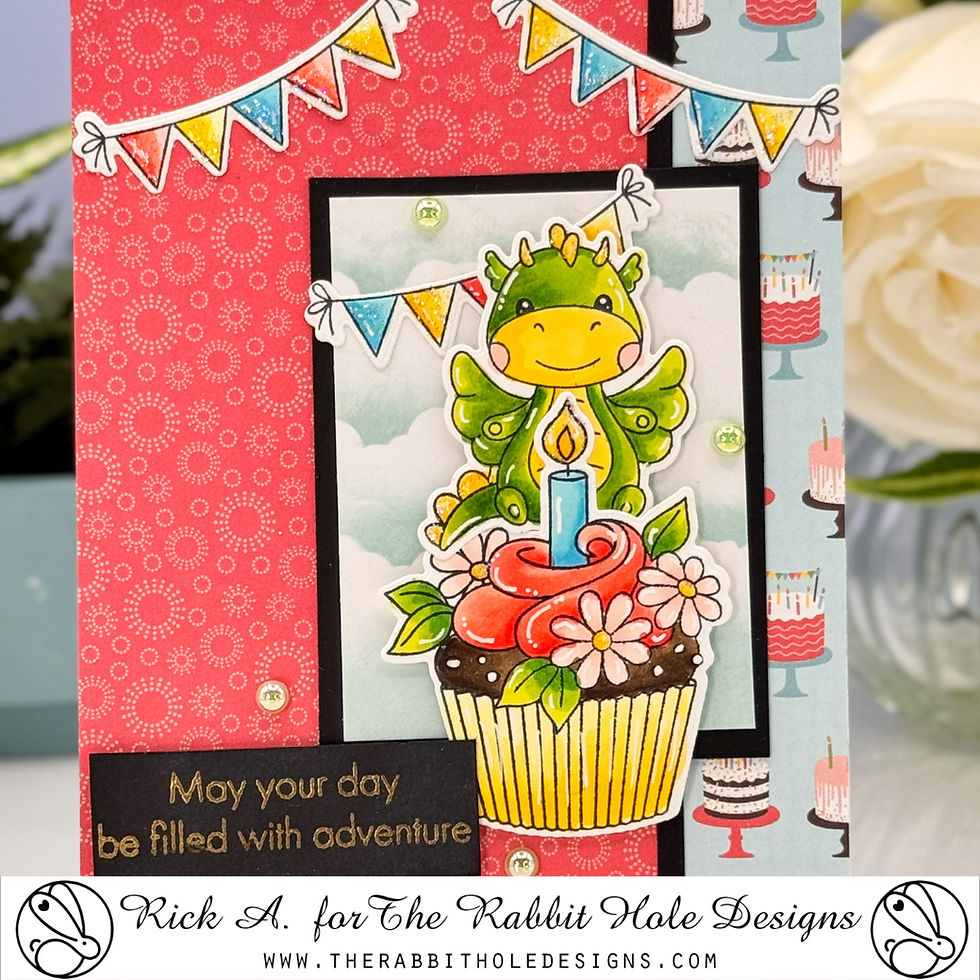
To add some shimmer and texture, I heat embossed the sentiment “May your day be filled with adventure” using gold pigment ink and Polished Gold Superfine Embossing Powder. A little gold goes a long way in making a sentiment feel extra special.
I also added Stardust Stickles to the dragon’s spikes and the banners, and just a touch of white gel pen for highlights. The final sprinkle was a few Shiny Sage Baubles around the sentiment and focal panel — just enough to add sparkle without stealing the spotlight.
Pro Tip: If you ever feel like your card needs “just a little something,” try adding embellishments in clusters of three near your sentiment or focal point to guide the eye and give your card a finished look.
Wrap-Up
This card may look detailed, but every decision was made easier by starting with the patterned paper. Choosing a color palette first helped me stay focused, and using versatile products like the Dragon Fun Bundle and Year 4 Birthday Stamps and Dies from The Rabbit Hole Designs meant I could play with lots of layers without overthinking the layout.
If you’re looking to create a fun, whimsical birthday card that feels like a party in an envelope — give this combo a try. And next time you’re stuck deciding what colors to use, just flip through your patterned paper stash. You might be surprised what inspiration is hiding there.
Happy crafting, friends. May your next birthday card be dragon-sized and adventure-filled.
Thanks for dropping by today I hope that you found a little spark of creative inspiration with my project today. Wondering what I used in this project? Everything is linked to multiple sources in the thumbnails in the Materials Used section, or in the text below. Compensated affiliate links used when possible.
Materials Used:
Here you will find the list of supplies that I used to create today's card. All supplies are linked to supply sources below. Compensated affiliate links may be used at no cost to you.
Happy Stampin'

Rick Adkins
Affiliate Disclaimer:
Just a friendly reminder, as part of my commitment to transparency, please note that some of the links provided maybe affiliate links. This means that if you make a purchase through these links, I may earn a small commission at no extra cost to you. Your support is truly appreciated!
Additionally, I kindly ask that you always accept the tracking cookie for the affiliate websites. Rest assured, this will not in any way expose your computer to viruses or compromise your information. It's simply necessary for the company to attribute the sale to the affiliate, ensuring creators like myself receive their rightful commissions.
Your trust and support enable me to continue sharing creativity through my email lists, blog, and YouTube channel. Thank you for being a valued part of our crafting community!


Comments