
How to Make a Masculine Birthday Card with Patterned Paper

Masculine birthday cards can sometimes be tricky to design. I think many of us have patterned paper and cardstock in our craft rooms that would work beautifully for cards for the men in our lives, but figuring out how to put those patterns together can feel like a challenge. The good news is that you don't need a collection of themed stamps to create a great masculine card. A thoughtful combination of color, pattern, and simple shapes can do much of the work for you!
For this month's Beyond the Bow Tie series, I'm sharing a masculine birthday card that uses patterned paper, cardstock, and a stamped sentiment to create a clean, layered design. I also made two additional versions using the same basic layout: a Christmas card and a baby boy card. I love how changing the paper and focal point can give one design three completely different looks!

Watch the Masculine Birthday Card Tutorial
You can watch the video below to see how I bring the patterned papers and cardstock together to create the finished card. As you watch, pay attention to how the layers work together and how the same layout can be adapted for other occasions.
If you have problems watching the video here on my blog you can always watch it on my YouTube Channel by Clicking Here!
(Wondering what I used in this video? Everything is linked to multiple sources in the thumbnails at the end of this post, or in the text below. Compensated affiliate links used when possible). As always I appreciate your support of my videos!
Why Patterned Paper Works So Well for Masculine Cards
One of the things I enjoy about using patterned paper is that it gives a card personality without requiring a lot of extra embellishments. For this masculine birthday card, I used the Feels Like Fall 6 x 6 Paper Pad, which has a warm mix of autumn colors and patterns. The plaid design brings plenty of visual interest, while the coordinating patterned paper adds another layer without taking away from the overall design.
The key to combining patterned papers is to give each one a purpose. When two patterns are equally bold, they can compete for attention. Instead, try pairing a larger or more noticeable pattern with a smaller, quieter one. You can also use solid cardstock between the patterns to create separation and help the design feel more intentional.
That's where the burgundy and natural cardstock come into play on my card. The burgundy creates a strong outline that defines the layers, while the natural cardstock gives the sentiment a lighter background so it stands out against the patterned paper.

Let Cardstock Bring the Design Together
Patterned paper may be the star of this project, but solid cardstock is what helps all the pieces work together. I used burgundy cardstock to frame the main panel and Natural Twine cardstock for the central focal-point layers and sentiment area. The card base is made from Cougar Natural 100 lb cardstock, which provides a sturdy foundation for the finished card.
When I'm designing a layered card, I like to think about contrast. Dark cardstock can help a lighter pattern stand out, while a neutral shade can soften a combination of stronger colors. Repeating a color from the patterned paper in a mat or accent layer also helps the design feel cohesive.
You don't have to use the exact colors I chose, either. If your paper pad features navy, gray, and cream, try using navy cardstock for the mats and cream for the sentiment. If you're working with greens and browns, a deep green or kraft-colored layer could create a similar effect. Let your patterned paper guide your cardstock choices instead of trying to find a perfect match for every color.

One Card Layout, Three Different Occasions
One of my favorite ways to stretch a card design is to use the same basic layout more than once. Once you find a composition that works, you can change the patterned paper, focal image, and sentiment to create something completely different.
For this project, I used the same general arrangement for three cards. Each one has layered paper panels and a central focal point, but the papers and images give each card its own personality.

Masculine Birthday Card
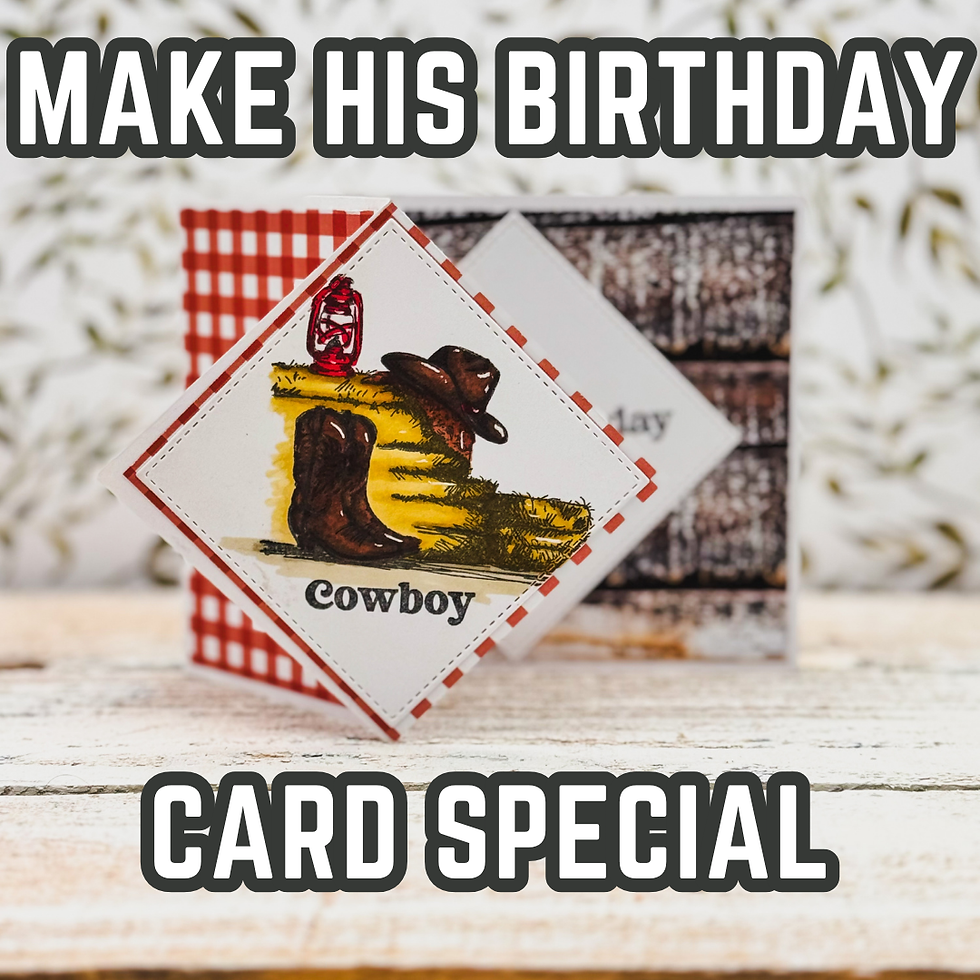
For the birthday version, the warm plaid patterned paper sets the tone. I paired it with coordinating cardstock layers and a stamped birthday sentiment from the Festive Balloons Stamp Set. The sentiment is kept simple, allowing the paper and geometric arrangement to provide most of the visual interest.
This is a useful approach when you want to make a masculine birthday card that feels polished without adding lots of embellishments. It also works well when you don't have a stamp set specifically designed for masculine cards.
Christmas Card
For the Christmas version, I switched to the Holly Lane Patterned Cardstock Paper Pad and used the Stitched Candy Canes Dies to create the focal point. The sentiment comes from the Christmas Before n Afters Stamp Set, and I heat embossed it with white embossing powder for a crisp finish.
The layout stays familiar, but the seasonal paper and candy cane instantly change the mood. This is a great reminder that you don't have to reinvent your card design every time you make a holiday card. Sometimes, changing just two or three elements is enough.

Baby Boy Card
For the baby boy version, I used the Baby Boy 12 x 12 Pattern Paper along with an image from the Oh, Baby Stamp Set. I colored the stamped baby image with alcohol markers and placed it in the center of the layered design.
Here, the focal image becomes the main attraction rather than the patterned paper. The same arrangement still provides structure and helps frame the image, but the softer baby-themed papers give the card a completely different feel.
I especially like this approach when I want to make several cards for different occasions without starting from scratch each time.

Tips for Making This Layout Work with Your Own Supplies
You can adapt this design to fit the paper pads, cardstock, and stamps you already have. Here are a few things to keep in mind when you try it yourself.
Start with your patterned paper. Choose a paper pad or a couple of coordinating sheets you love, then pull two or three colors from the patterns for your cardstock layers.
Use a simple focal point. A stamped sentiment, die-cut shape, small colored image, or even a layered geometric shape can work beautifully in the center.
Create contrast between the layers. If your patterned paper is busy, use a solid cardstock mat to give the eye a place to rest.
Keep embellishments purposeful. You don't need to add something to every open space. A clean design can be just as effective as one with lots of details.
Repeat the layout. Once you've made one card, try a different color palette or occasion. You'll get more mileage from the design and build confidence in your own cardmaking decisions.
If you're newer to cardmaking, you can keep the layers flat and use simple rectangles. If you'd like to add more dimension, try foam tape behind the focal point or sentiment strip. Both approaches work; it simply depends on the look you want.
Featured Supplies
Here are the products I used to create the three versions of this card:
Masculine Birthday Card
Christmas Card
Baby Boy Card
If you'd like to recreate one of these cards, the products are a great starting point. You can also substitute similar patterned papers, cardstock colors, dies, and sentiment stamps from your stash to achieve a comparable look.
A Simple Layout You Can Use Again and Again
The biggest takeaway from this project is that a successful card design doesn't have to be complicated. By choosing coordinating patterned papers, using solid cardstock to create contrast, and giving the focal point room to stand out, you can create a masculine birthday card that looks thoughtful and finished.
And once you have a layout you enjoy, don't be afraid to use it again! Try it with Christmas papers, a baby image, a thank-you sentiment, or another focal point that suits the occasion. A few small changes can make a familiar design feel fresh.
I'd love to know: Do you enjoy using patterned paper for masculine cards, or do you sometimes find it challenging to combine patterns? Share your thoughts in the comments. And if you haven't watched the video yet, take a look to see how the design comes together!
Thanks for spending a little time crafting with me. I'll see you next time with another cardmaking idea from the craft desk!
Supplies Used
Here you will find the list of supplies that I used to create today's card. All supplies are linked to supply sources below. Compensated affiliate links may be used at no cost to you.
Happy Crafting,

Rick Adkins
Affiliate Disclaimer:
This post contains affiliate links. If you choose to shop through these links, I may earn a small commission at no extra cost to you. Thank you so much for supporting my business!

Comments