Spooky Halloween Slice of Cake Treat Holders | Pixi Dust Designs
- Rick Adkins

- Sep 16, 2025
- 4 min read
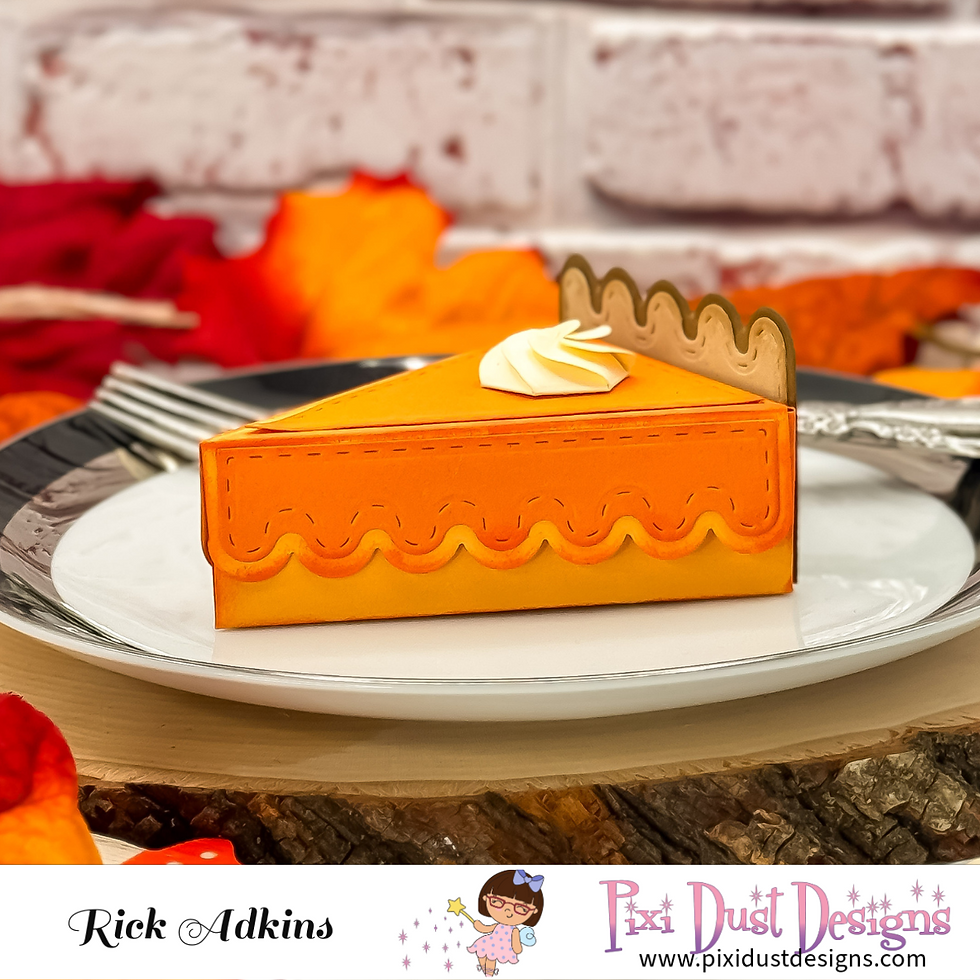
Halloween crafting is in full swing over here, and I couldn’t resist making something a little different this year—spooky slice-of-cake treat holders! These may look like they came straight out of a bakery window, but they’re actually adorable little boxes made with dies from Pixi Dust Designs. I love projects like this because they solve that classic Halloween problem: what can you make that’s both fun and functional for holding goodies? These treat boxes are the answer, and I think you’ll fall in love with how customizable they are.

Spooky Halloween Slice of Cake Treat Holders | Pixi Dust Designs
Building the Base – A Slice of Fun
Each treat holder starts with the Slice of Cake Die Set, which cuts the base pieces for the box. I used a variety of cardstock colors so that each box matched the character it would become—orange for the pumpkin, green for Franky, purple for Draky, and crisp black for the mummy. The die makes assembly really easy, and the finished box is sturdy enough to hold plenty of treats.
Pro Tip: If you’re making a whole “cake” of slices, keep your cardstock organized by character color. It saves time and keeps things from getting mixed up in the shuffle of little die-cut pieces.

Bringing Characters to Life
The real magic happens with the add-ons. For these, I used the Mummy and Pumpkin Cake Die Add-on Set and the Franky and Draky Cake Die Add-on Set. Each layer adds personality, turning a simple triangle box into a full-blown Halloween character.
I still remember the first time I made a treat holder like this—I was halfway through adding the pumpkin’s smile, and it instantly went from “paper box” to “oh my gosh, this is so cute!” That’s exactly how these dies work. The mummy even has bandage layers you can tuck and overlap, while Franky’s little scar detail adds just the right touch of spooky charm.

Adding Depth with Ink and Details
One thing I’ve learned over the years is that flat cardstock can sometimes look unfinished. To solve that, I always add shading. For these, I reached for my Distress Inks to softly blend around the edges. It’s amazing what a little inking can do—it gives dimension and makes each piece look polished and professional.
When it came time to assemble everything, I used my Precision Glue Press. If you’ve ever struggled with glue oozing out or pieces not sticking where you want, this tool is a game-changer. Everything came together crisp and clean, which makes a big difference when you’re building little boxes that people will actually handle and open.

The Finishing Touches
Once the characters were all assembled, I added small white gel pen highlights. This is such a simple step, but it’s also one of the most impactful. Just a dot on the eyes or a line along a smile suddenly makes the character come alive. It’s like the final flourish that ties everything together.
Pro Tip: Don’t overthink your highlights. Keep them simple and in the same direction (as if the light is hitting from one side). It creates consistency across all your boxes and makes the whole set feel cohesive.

Perfect for Halloween Treats
These spooky slice-of-cake holders aren’t just cute—they’re practical. You can fill them with candy, small toys, or even a few crafty goodies for your fellow makers. They’re perfect for classroom parties, Halloween gatherings, or even as table décor for a festive dinner. And because each slice is its own little box, you can make an entire “cake” of characters that’s as fun to display as it is to give away.

Wrapping Up
I had such a blast putting these together, and I love how the Pixi Dust Designs die sets make the process simple while leaving so much room for creativity. Whether you make just one or a whole collection, these treat holders are guaranteed to bring smiles this Halloween. If you’re looking for a way to wow your friends and family with something handmade, these spooky slices of cake are a sweet solution.
Thanks for dropping by today I hope that you found a little spark of creative inspiration with my project today. Wondering what I used in this project? Everything is linked to multiple sources in the thumbnails in the Materials Used section, or in the text below. Compensated affiliate links used when possible.
Materials Used:
Here you will find the list of supplies that I used to create today's card. All supplies are linked to supply sources below. Compensated affiliate links may be used at no cost to you.
Happy Crafting,

Rick Adkins
Affiliate Disclaimer:
Just a friendly reminder, as part of my commitment to transparency, please note that some of the links provided maybe affiliate links. This means that if you make a purchase through these links, I may earn a small commission at no extra cost to you. Your support is truly appreciated!
Additionally, I kindly ask that you always accept the tracking cookie for the affiliate websites. Rest assured, this will not in any way expose your computer to viruses or compromise your information. It's simply necessary for the company to attribute the sale to the affiliate, ensuring creators like myself receive their rightful commissions.
Your trust and support enable me to continue sharing creativity through my email lists, blog, and YouTube channel. Thank you for being a valued part of our crafting community!


Comments