
Stop Copying Card Sketches: Learn How to Design Your Own Cards

Have you ever found a card sketch you love, pulled out the supplies you have on hand, and then realized your finished card looks almost exactly like the sketch? There’s nothing wrong with using card sketches—in fact, they can be incredibly helpful when you’re stuck or simply need a starting point.
But I think there comes a point when we need to stop asking, “How do I copy this sketch?” and start asking, “What is this sketch actually teaching me?” That small shift can completely change the way you approach cardmaking. Instead of treating a sketch like a recipe that tells you exactly where everything needs to go, you can begin recognizing the design principles behind it and use those principles to create cards that are uniquely yours.

A Card Sketch Is a Starting Point, Not a Recipe
When you first start making cards, sketches take away a lot of the guesswork. They show you where a patterned paper panel might go, how layers can be arranged, where a focal image could sit, and even where to place the sentiment.
But a sketch is really a visual suggestion, not a set of instructions you have to follow exactly. Start looking at the sketch as a collection of shapes and relationships rather than a finished card. Maybe you see a large background area, a narrow vertical strip, a focal image, and a sentiment. Those elements can easily be changed. The patterned paper could become an ink-blended background, the vertical strip could become a stamped image, and the focal point could be a die cut or small scene.
Once you begin seeing the structure instead of simply seeing the card, you can use the same basic design idea to create something completely different.

Learn to See the Design Behind the Card
When I look at a card design, I like to think about a few basic questions:
Where is my focal point?
What is the largest shape?
Where is the visual weight?
How does my eye move through the card?
And where does the design have room to breathe?
Your focal point is the place you want the viewer to notice first, whether that's a stamped image, a sentiment, a large die cut, or a colorful scene.
From there, think about balance. Balance doesn't mean everything has to be symmetrical. A large, dark image has more visual weight than a small, pale one, and a busy patterned paper can compete with a focal image even if it takes up less space.
You also want to pay attention to how your eye travels around the card. If everything is crowded into one area, or the sentiment feels disconnected from the focal point, something may simply need to move.
And don't forget about empty space. You don't have to fill every inch of your card with another element. Sometimes that breathing room is exactly what allows your focal point to stand out.

Turn a Sketch Into Your Own Design
The next time you find a sketch you love, try translating it into design principles before you start cutting anything. Imagine a sketch with a large patterned paper panel, a narrow vertical strip, a large focal image, a sentiment underneath, and a few embellishments.
Instead of copying those elements, you could describe the design as a large background + vertical movement + focal point + sentiment + visual accents. Now you have a framework you can make your own.
Change the orientation of the card, move the sentiment, replace the patterned paper with stenciling, turn the large focal image into a small stamped scene, or use a completely different shape.
One of my favorite exercises is the Three Changes Rule: when you use a sketch, deliberately change at least three things.
Change the orientation
Change the focal point
Change the materials
Change the proportions
Move the sentiment
The more often you practice doing this, the easier it becomes to recognize the design rather than simply reproduce the card.

Stop Letting Measurements Make the Decisions
Measurements are useful, especially when you're trying to recreate a particular design, but they shouldn't be the first thing driving your creative decisions. Instead of thinking, “That strip is two inches wide,” start by thinking about the relationship between the pieces.
Is that strip about one-third of the card?
Is the focal image larger than the sentiment?
Does the background take up most of the card?
Is there enough space around the focal point?
Once you've established those relationships, you can decide what measurements make sense for your card. This approach gives you much more freedom because your design isn't tied to one particular card size, die, or sketch. It also means you can work with what you already have in your stash instead of trying to find supplies that perfectly match someone else's design.

Let Your Supplies Solve the Design
This is where designing your own cards can become really fun. Instead of starting with a particular stamp set and searching for a sketch that works with it, start with the kind of design you want to create.
Maybe you want one strong focal point with lots of white space and a small sentiment. Now look through your supplies and decide what can create that design. It might be a large floral stamp, a cute character, a die-cut balloon, a stencil, or even a piece of patterned paper from your stash.
The supplies become the tools you use to build the design rather than dictating the design for you. And if the card doesn't look right the first time, remember that it isn't a failure—it is information.
Try moving the pieces around before reaching for something new. Take a quick photo with your phone, step away for a few minutes, and look at the arrangement again. Sometimes the answer isn't adding another embellishment or element; it's simply removing one or moving something to a better position.

Your Goal Isn't to Stop Using Card Sketches
I don't want you to throw away your card sketches! I still think they're wonderful tools, especially when you're short on time or feeling creatively stuck. The goal is to stop seeing a sketch as something you have to reproduce and start seeing it as a design lesson.
The next time you find one you love, pause before reaching for your paper trimmer and ask yourself what makes the design work. Ask yourself these simple questions:
Where is the focal point?
What creates the balance?
How does your eye move around the card?
Where is the empty space?
Then make a few intentional changes and see where they take you. The more you practice this, the less dependent you'll become on having a sketch for every card.
Eventually, you may find yourself looking at a blank piece of cardstock and thinking, “I know what I want this card to do.” And that's when you're no longer just following a design—you're making design decisions.
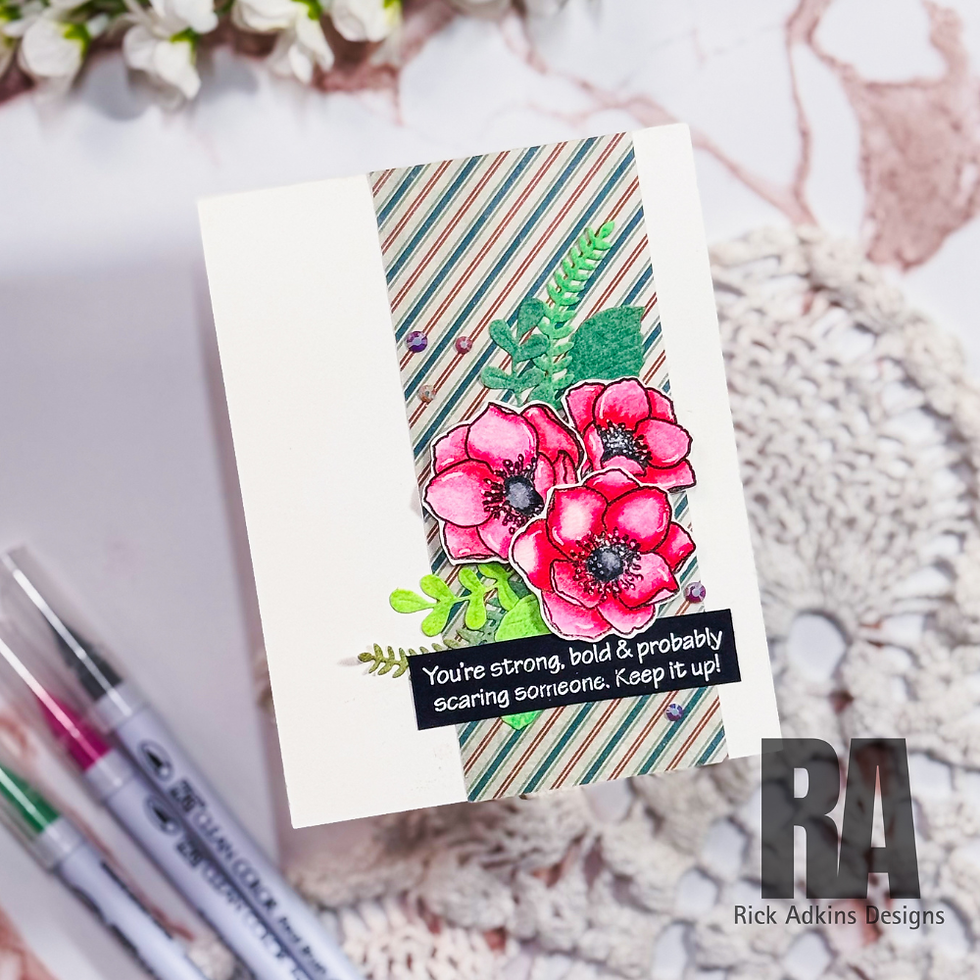
That's the real goal: not to stop using card sketches, but to understand them well enough that you can take the principles behind them and create something that is completely your own.
Watch the Video
If you have problems watching the video here on my blog you can always watch it on my YouTube Channel by Clicking Here!
(Wondering what I used in this video? Everything is linked to multiple sources in the thumbnails at the end of this post, or in the text below. Compensated affiliate links used when possible). As always I appreciate your support of my videos!
Supplies Used
Here you will find the list of supplies that I used to create today's card. All supplies are linked to supply sources below. Compensated affiliate links may be used at no cost to you.
Happy Crafting,

Rick Adkins
Affiliate Disclaimer:
Just a friendly reminder, as part of my commitment to transparency, please note that some of the links provided maybe affiliate links. This means that if you make a purchase through these links, I may earn a small commission at no extra cost to you. Your support is truly appreciated!
Additionally, I kindly ask that you always accept the tracking cookie for the affiliate websites. Rest assured, this will not in any way expose your computer to viruses or compromise your information. It's simply necessary for the company to attribute the sale to the affiliate, ensuring creators like myself receive their rightful commissions.
Your trust and support enable me to continue sharing creativity through my email lists, blog, and YouTube channel. Thank you for being a valued part of our crafting community!


Comments