
Create a Backpack Shaped Card with the Scrappy Boy Stamps Die Sets

I love when a card can become part of the gift instead of simply being something that holds a message. That was my thinking behind this Dorothy-inspired backpack shaped card. Rather than starting with a traditional A2 card base and adding a few backpack-themed embellishments, I wanted the entire card to become the backpack. It gives the finished project a playful personality while also making the die-cutting and layering do most of the design work.

For this project, I used the Scrappy Boy Stamps Backpack Builder Die Set along with the Dorothy Backpack Add On Die Set. What I particularly like about this combination is how the basic backpack shape provides a foundation that can be customized for a specific theme. The Dorothy elements transform an everyday backpack into something with a distinct character without requiring complicated stamping or coloring.
Create a Backpack Shaped Card with the Scrappy Boy Stamps Die Sets
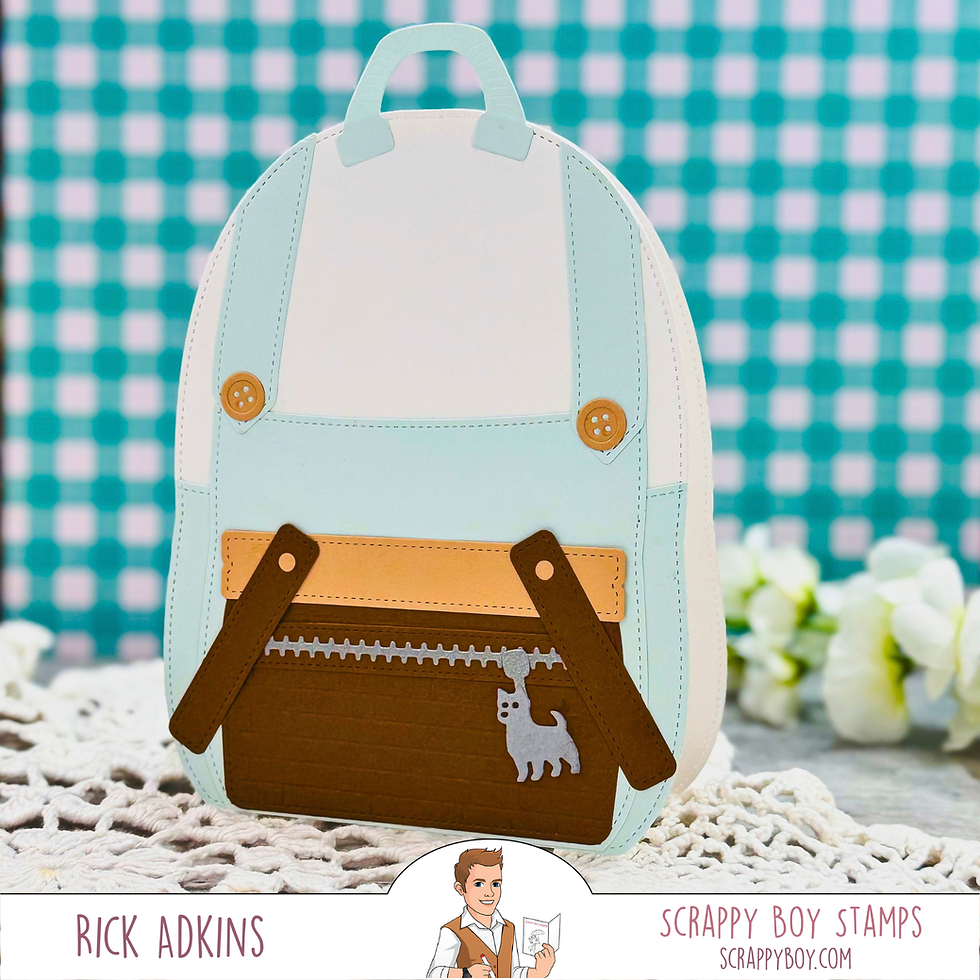
One of the reasons I enjoy making a shaped card is that the unusual silhouette immediately gives the recipient something interesting to look at. A shaped card doesn't necessarily need lots of additional decoration because the shape itself becomes part of the focal point. Here, the backpack silhouette establishes the theme before the recipient even sees the details.
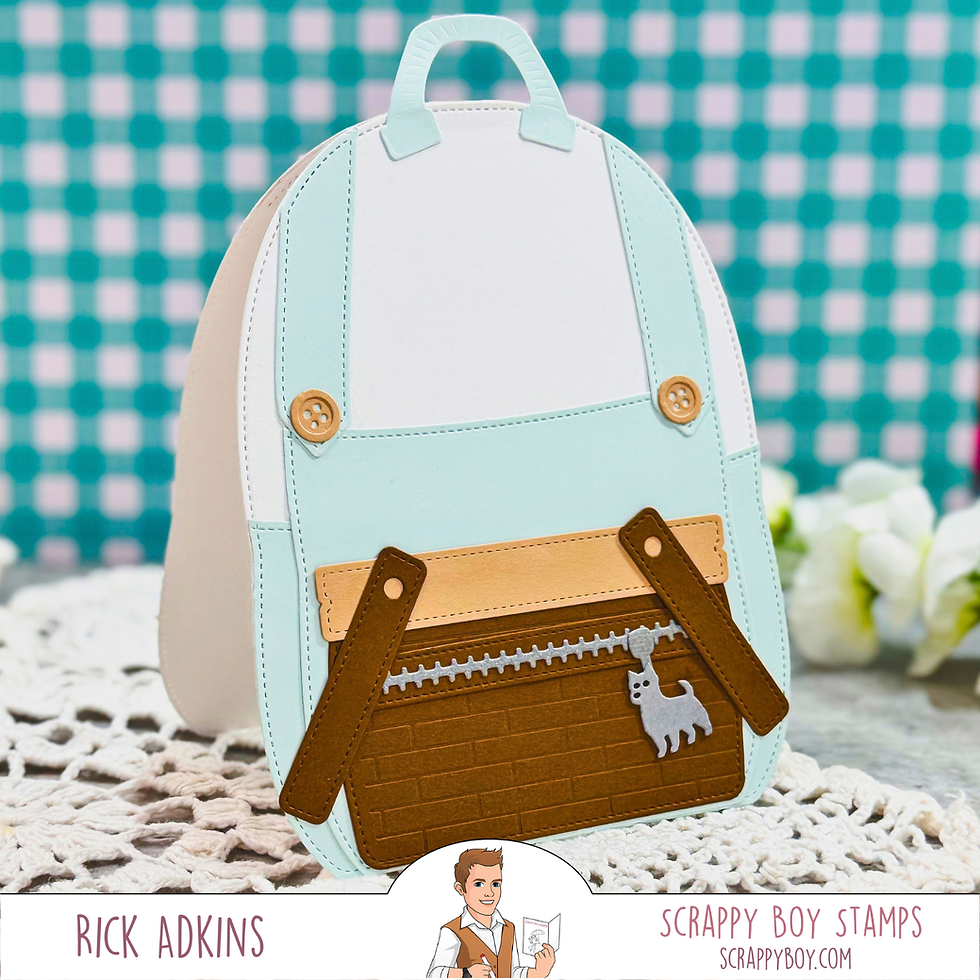
The other design decision I made was to let layering create the dimension. The light blue backpack pieces, straps, pockets, buttons, zipper, and little decorative details are all separate elements, which keeps the design from looking flat. Layered die cuts are also a great way to add visual interest when you don't want to spend a lot of time coloring. Instead of creating dimension with shading alone, you can build it one paper layer at a time.

Why Layered Die Cuts Work So Well
There is a useful cardmaking lesson here that applies far beyond this particular backpack. When a project has several small die-cut pieces, it can be tempting to put everything onto the card because you like all the pieces individually. I find it helps to think about visual hierarchy instead. Some pieces should clearly read as the main focal point, while others simply provide supporting details.
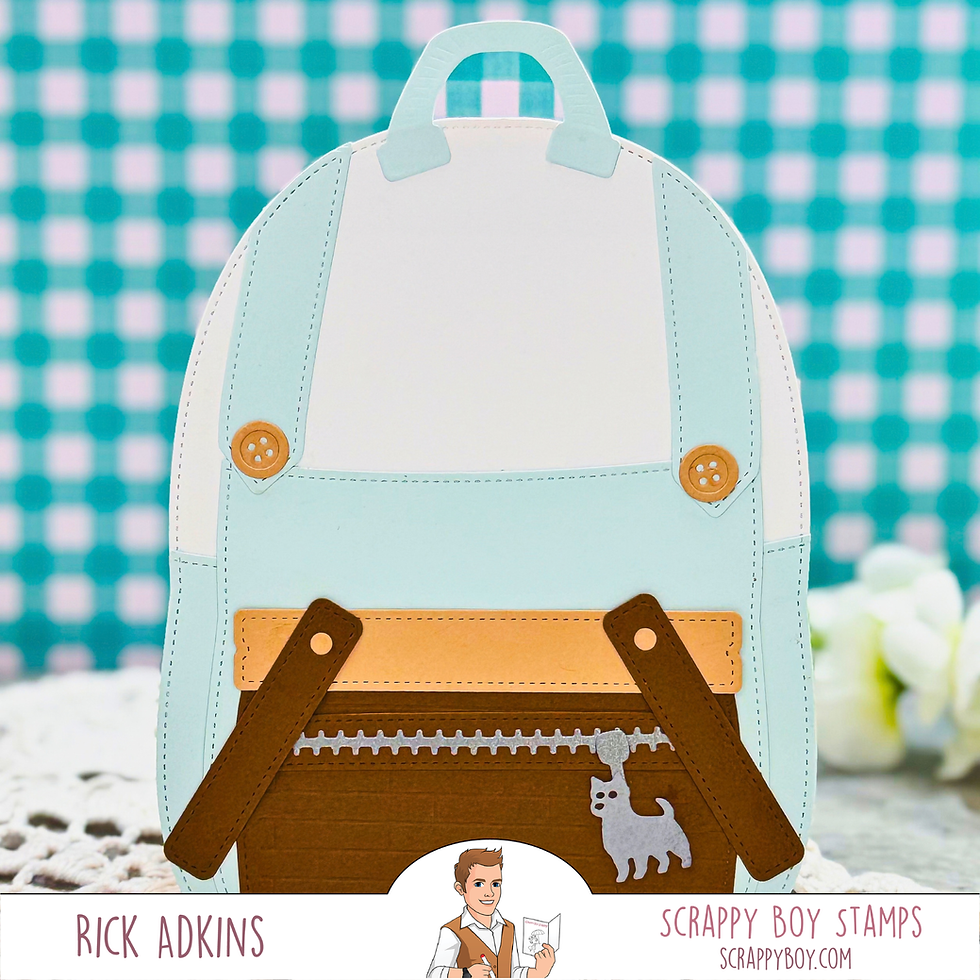
The darker lower section of the backpack, for example, gives the lighter pieces something to contrast against. The straps then lead the eye toward the center, while the small buttons and zipper details reinforce the backpack design without competing with it. This is a simple way to make a card feel dimensional and thoughtfully designed without making it visually overwhelming.

Another thing I appreciate about this approach is that it makes a shaped card approachable for newer cardmakers. You don't need advanced coloring skills to create something that looks detailed. If you can die cut, layer, and assemble cardstock pieces, you already have the basic skills needed to create this type of project.
Make the Idea Your Own
You certainly don't need these exact die sets to use the design principles behind this card. Look through your own stash for a large die that creates an object, container, piece of clothing, or other recognizable shape. A purse, suitcase, gift bag, coffee cup, book, or even a large tag could become the foundation for a shaped card.
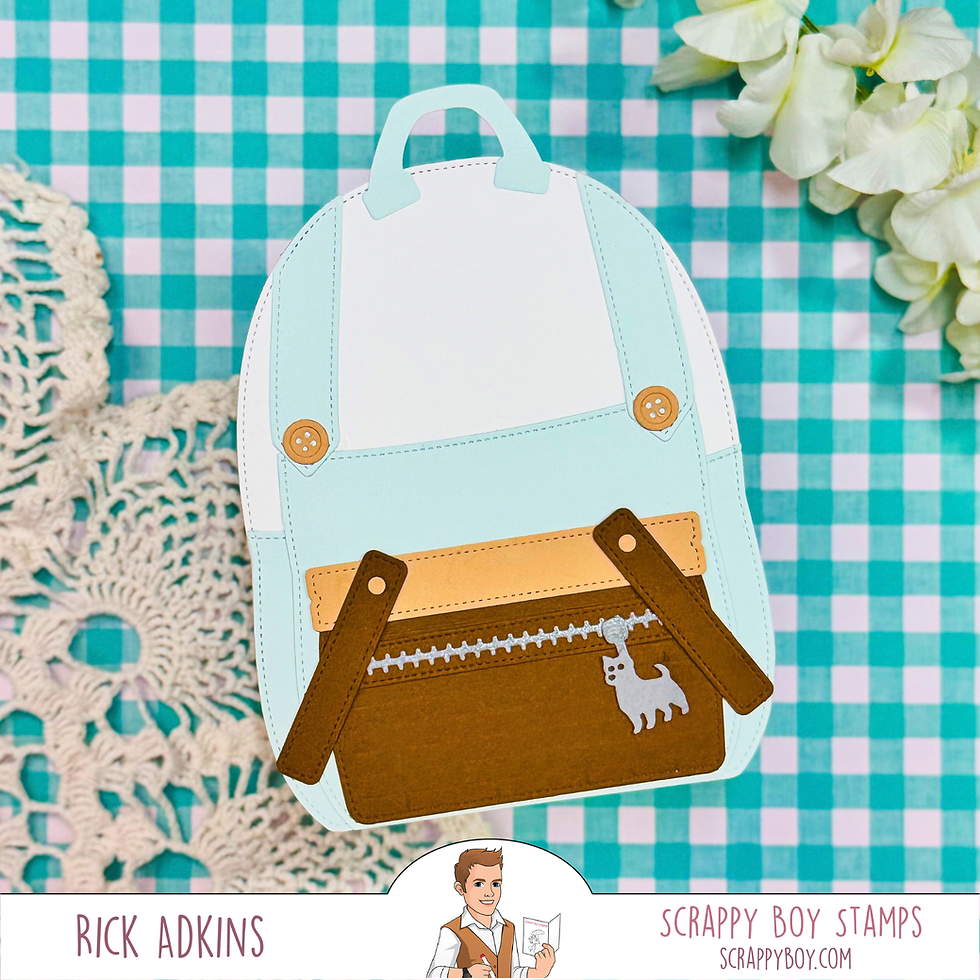
You can also simplify the design if you're newer to layered die cutting. Start with just two or three cardstock colors and let the largest pieces establish the shape. More experienced crafters can add additional layers, patterned paper, ink blending, faux stitching, or small die-cut embellishments. This is one of those projects where the same basic concept can be adapted to your personal cardmaking style.
Watch the Video
If you have problems watching the video here on my blog you can always watch it on the Scrappy Boy Stamps YouTube Channel by Clicking Here!
What I enjoy most about projects like this is that they remind me not to reserve my specialty dies for their most obvious purpose. A backpack die doesn't have to make a backpack embellishment that gets added to a conventional card—it can become the card itself. That small change in perspective can open up a lot of creative possibilities when you're looking through your craft supplies.
If you've been wanting to try a shaped card but aren't sure where to start, consider choosing one strong die-cut shape and letting it do most of the work. Add a few carefully chosen layers, think about contrast and visual hierarchy, and don't worry about making every detail perfect. Sometimes the most memorable handmade cards begin with simply looking at a familiar crafting tool in a completely different way.
(Wondering what I used in this video? Everything is linked to multiple sources in the thumbnails at the end of this post, or in the text below. Compensated affiliate links used when possible). As always I appreciate your support of my videos!
Supplies Used
Here you will find the list of supplies that I used to create today's card. All supplies are linked to supply sources below. Compensated affiliate links may be used at no cost to you.
Happy Crafting,

Rick Adkins
Affiliate Disclaimer:
This post contains affiliate links. If you choose to shop through these links, I may earn a small commission at no extra cost to you. Thank you so much for supporting my business!


Comments