
Festive Hot Air Balloon Christmas Card | Pixi Dust Designs
- Rick Adkins

- Oct 8, 2025
- 4 min read
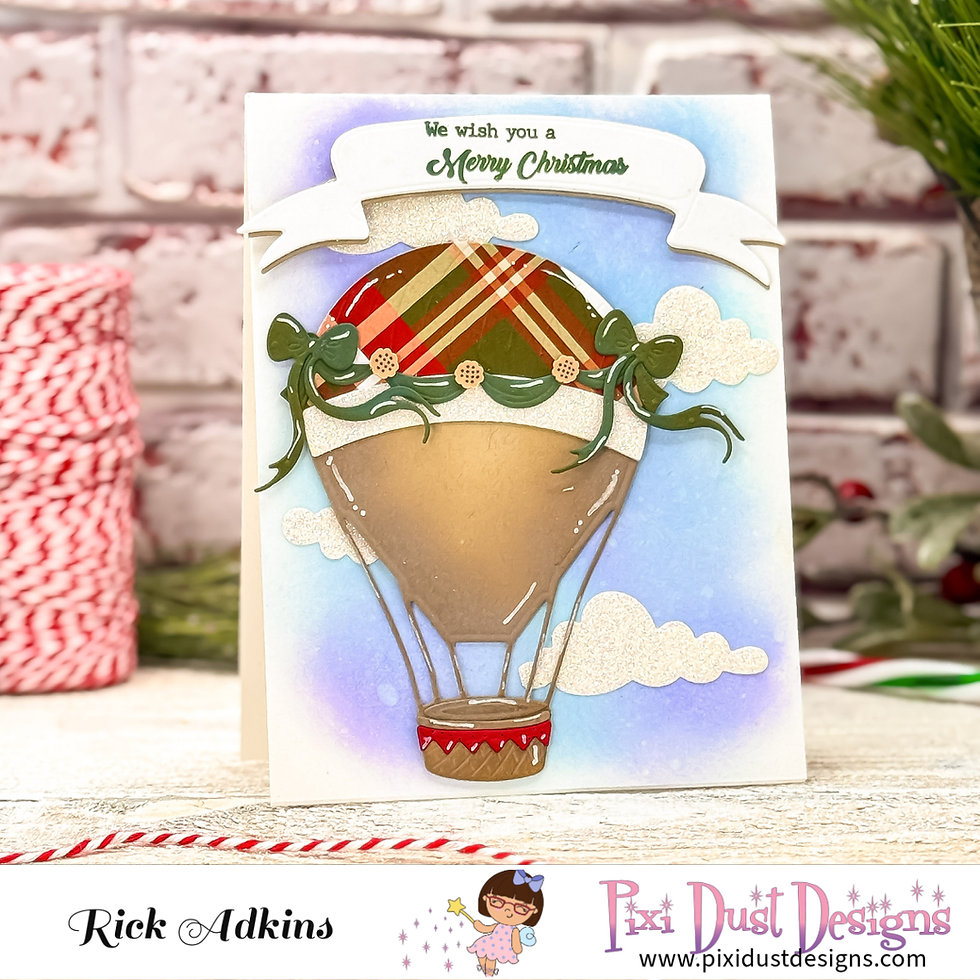
Every year when I sit down to start my Christmas cards, I like to challenge myself to create at least one design that feels completely different from the rest. This season, I decided to take a little creative detour and see how far I could stretch one of my favorite non-holiday dies—the Hot Air Balloon Die Set from Pixi Dust Designs. The result? A clean and layered Christmas card that feels fresh, whimsical, and just a little unexpected. I love when a card makes someone pause and say, “Oh, I never thought to use that die for Christmas!”

There’s something so joyful about imagining Santa trading his sleigh for a hot air balloon ride, floating high above snowy clouds. That’s the vibe I went for here—a soft winter sky, cozy plaid patterns, and a few festive details to tie it all together.
Festive Hot Air Balloon Christmas Card | Pixi Dust Designs
Creating a Soft Winter Sky
The background is where the magic starts. I reached for my Neenah Classic Crest Solar White 80 lb Cardstock—it’s my go-to for ink blending—and used Tumbled Glass and Shaded Lilac Distress Inks to create a dreamy, wintery sky. A quick spritz of water added just enough texture to make the background look alive without overpowering the design.
I always tell crafters: don’t stress about perfect blending. A little unevenness adds movement and makes the card feel more organic—like a real sky. Once it was dry, I set it aside and started working on the star of the show: that festive balloon.
Turning a Everyday Die into a Holiday Design
The Hot Air Balloon Die Set from Pixi Dust Designs is one of those dies that can take on so many personalities depending on your paper choices. For this Christmas version, I cut the top of the balloon from a cozy plaid pattern in the Christmas 6x6 Paper Pad. The combination of red, green, and gold plaid instantly gave it that warm holiday feel.
To add a little depth, I inked the basket with Frayed Burlap Distress Oxide Ink and shaded the bows and garland with Rustic Wilderness. These subtle inking details make the die cuts come to life and add just enough contrast so the layers don’t blend together.
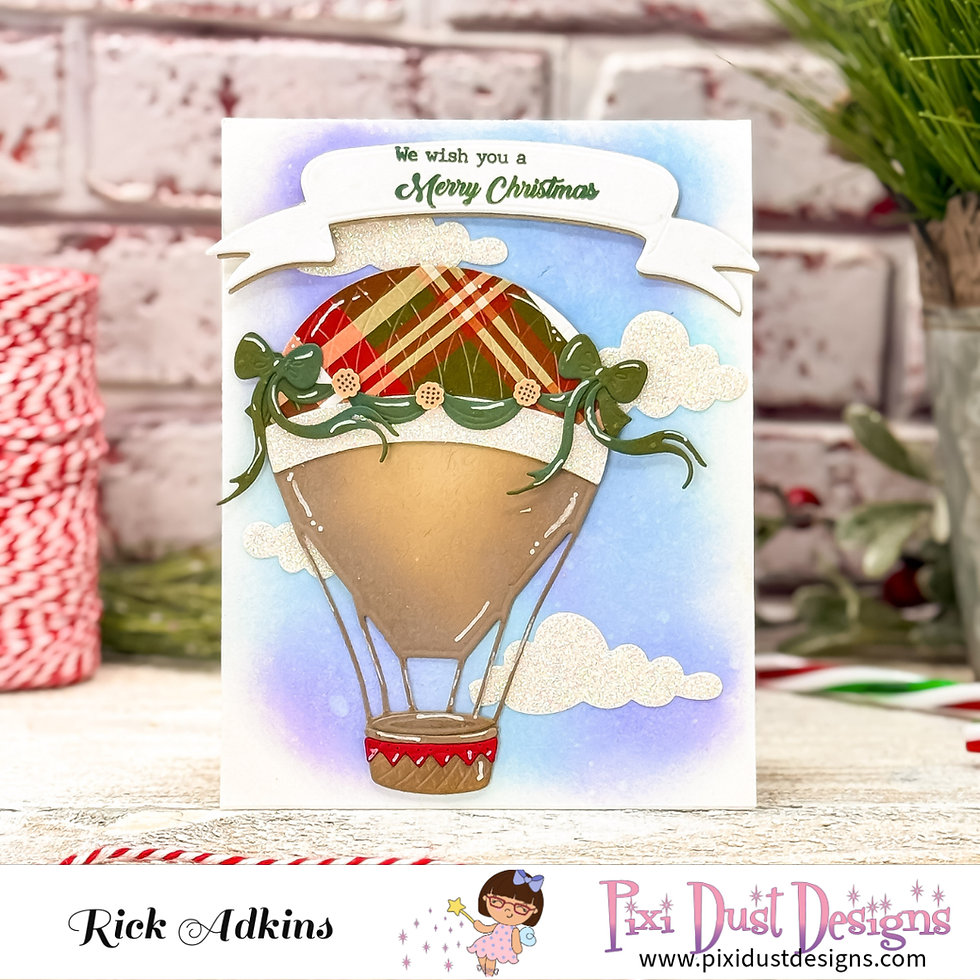
Once I had all the pieces ready, I started assembling. I added a few glittery clouds behind the balloon (because every Christmas sky deserves a little sparkle) and popped the balloon up on thin foam adhesive. The bit of dimension made it look like it was truly floating through the sky.
Pro Tip: If you ever feel like your die cuts look flat, try brushing just a touch of ink around the edges. It gives instant dimension and helps your layers look more polished.
A Layered Banner with Holiday Charm
No Christmas card is complete without a heartfelt sentiment, and I loved using the Holly Jolly Stamp Set for this one. I stamped “We wish you a Merry Christmas” in Rustic Wilderness Distress Oxide Ink onto a die-cut banner.
To give the sentiment a little extra presence, I layered the banner three times—two layers of scrap cardstock for sturdiness and one in Kraft for a soft drop shadow. That small detail adds subtle depth and ties the sentiment in with the natural tones of the balloon basket.
I attached the banner with thicker foam tape so it would sit higher than the balloon and frame the entire design perfectly.
Pro Tip: Stacking die cuts is a great way to get the look of chipboard embellishments without the bulk. It also helps prevent warping on dimensional cards.

Finishing Touches that Make it Shine
For the finishing details, I reached for my POSCA White Extra Fine Paint Marker to add small highlights to the balloon and basket. A few white details here and there make everything pop—especially when you’ve got a mix of ink blending and patterned paper.
And because no Christmas card of mine feels complete without a touch of fun, I glued a few Chocolate Chip Cookies Shaker Bits onto the balloon’s bunting. They add the cutest little surprise element that makes the card feel even more festive and playful.
I love how this design came together—clean, layered, and full of texture without feeling heavy. It’s a reminder that with a little imagination, you can turn your everyday dies into something truly magical for the holidays.

Stretching Your Supplies for the Holidays
If you’ve ever found yourself wishing you could get more use out of your non-holiday dies, this project is a great example of how color, pattern, and layering can completely transform them. The Hot Air Balloon Die Set isn’t just for birthdays or summer cards—it’s also perfect for Christmas when paired with the right paper and sentiment.
So before you pack away your everyday dies for the season, take another look at them. You might just find a few unexpected Christmas favorites waiting to take flight.

Holiday Card Idea | Hot Air Balloon Christmas Card with Pixi Dust Designs Video Tutorial:
If you have problems watching the video here on my blog you can always watch it on my YouTube Channel by Clicking Here!
(Wondering what I used in this video? Everything is linked to multiple sources in the thumbnails at the end of this post, or in the text below. Compensated affiliate links used when possible). As always I appreciate your support of my videos!
Materials Used:
Here you will find the list of supplies that I used to create today's card. All supplies are linked to supply sources below. Compensated affiliate links may be used at no cost to you.
Happy Crafting,

Rick Adkins
Affiliate Disclaimer:
Just a friendly reminder, as part of my commitment to transparency, please note that some of the links provided maybe affiliate links. This means that if you make a purchase through these links, I may earn a small commission at no extra cost to you. Your support is truly appreciated!
Additionally, I kindly ask that you always accept the tracking cookie for the affiliate websites. Rest assured, this will not in any way expose your computer to viruses or compromise your information. It's simply necessary for the company to attribute the sale to the affiliate, ensuring creators like myself receive their rightful commissions.
Your trust and support enable me to continue sharing creativity through my email lists, blog, and YouTube channel. Thank you for being a valued part of our crafting community!


Comments