
This 3D Gift Card Holder Box Has the Cutest Surprise Inside
- Rick Adkins

- Apr 30
- 5 min read
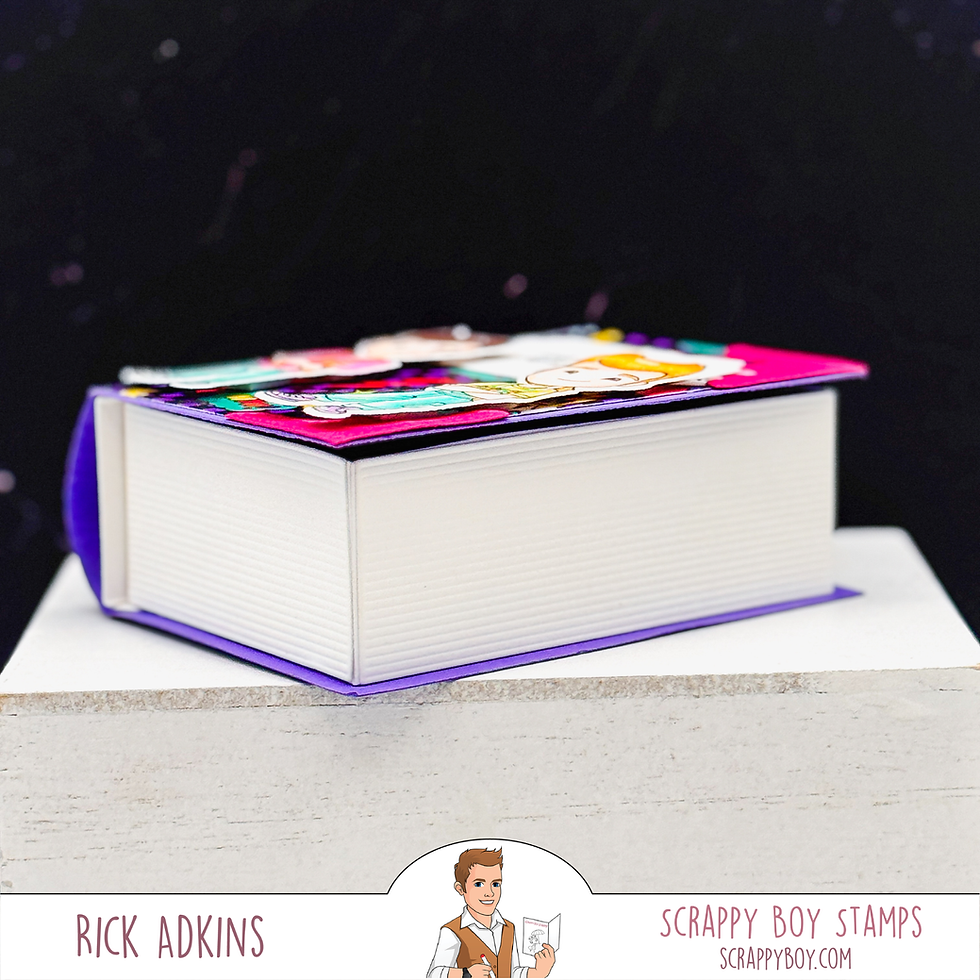
Sometimes a gift card can feel a little impersonal, even when the thought behind it is meaningful. That’s exactly why I love creating handmade gift card holder boxes like this one. By turning a simple gift card into part of an interactive handmade project, you instantly make the gift feel more thoughtful, memorable, and fun to receive. For this project, I created a 3D book-style gift card holder box with a playful boy band theme, and the hidden pocket inside adds that extra surprise that makes the whole design feel special.
I wanted to share this project because it solves a common problem many cardmakers face—how to package a gift card in a way that feels creative without making the project overly complicated. In the video, I walk through how the box comes together, but here I wanted to dive into the design choices behind it so you can see why this approach works so well and how you can adapt it for your own handmade gift packaging.

Why an Interactive Gift Card Holder Works So Well
When you’re making something for a special occasion, presentation matters just as much as the gift itself. A 3D gift card holder box creates a much bigger impact than simply slipping a gift card into an envelope. It transforms the gift into an experience.
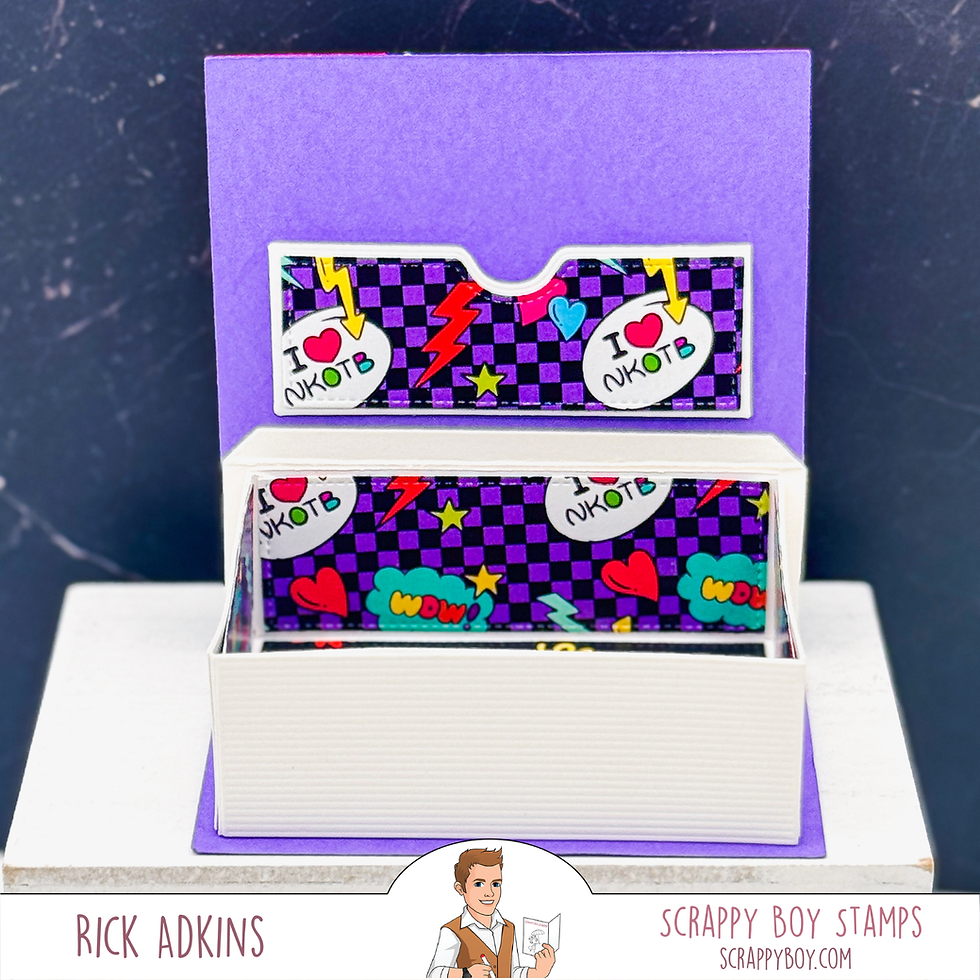
What makes this design especially useful is that it combines decorative packaging with practical function. The outside looks like a fun mini book, while the inside flap includes a pocket to securely hold the gift card. That hidden pocket detail makes the project feel interactive without requiring difficult engineering, which is ideal for beginner to intermediate cardmakers who want to create something impressive without unnecessary complexity.
This style of project is also great when you want your handmade element to feel substantial. Because of the dimension and structure, it has the presence of a gift box while still using familiar cardmaking techniques like die cutting, stamping, and patterned paper layering.

Why These Products Worked So Well Together
For this project, I used the Boy Band Stamp Set, Boy Band Outline Dies, Boy Band 6x9 Pattern Paper, and the 3D Book Gift Card Box Die Set from Scrappy Boy Stamps, and these products worked beautifully together because they made the design process simple.
The patterned paper creates most of the visual interest, which means you don’t have to spend extra time building complicated backgrounds. That’s a helpful shortcut when you want a finished project to look polished without adding more layers or embellishments than necessary.
The stamped images add personality to the front of the box and help reinforce the playful theme. Since the images were colored off camera with Copic markers, the finished box has a coordinated, custom feel, but the real strength of the design comes from how the patterned paper and focal images work together. When your background already carries energy and color, your embellishments don’t need to do all the heavy lifting.
That balance is one of the easiest ways to simplify design decisions—let one element be the star, and let the others support it.
A Great Way to Simplify Gift Packaging
One of the biggest benefits of a project like this is that it takes the guesswork out of gift card gifting. Instead of trying to figure out how to make a gift card feel personal, the structure itself does the work for you.
The gift card holder pocket inside the flap gives the project a built-in wow factor, but it also solves the practical issue of keeping the gift secure while maintaining a polished presentation. This is the kind of design that feels impressive to the recipient but manageable for the maker.
It also helps reduce decision fatigue. When the box design already includes a strong structure and interactive detail, you can keep the decorating simple. That means less second-guessing where to place embellishments and more confidence in the final result.
A common mistake with dimensional projects is over-decorating the outside and making the design feel cluttered. In this case, the bold patterned paper already creates plenty of visual impact, so keeping the embellishments focused on the stamped characters allows the design to stay balanced.

Easy Ways to Adapt This Idea
One of my favorite things about this gift card holder box design is how easy it is to customize. Even though I used a boy band theme for this version, the same concept works for birthdays, holidays, graduations, or any celebration where a gift card makes sense.
You could swap out the themed stamps for florals, cute critters, or seasonal images and create a completely different look while keeping the same basic structure. This makes it a great stash-friendly project because you can use whatever patterned paper and stamp sets you already have on hand.
If you’re newer to interactive cardmaking, this is also a nice way to ease into dimensional projects. The structure gives you the wow factor, while the decorating can stay as simple or detailed as you like. And if you’re more experienced, this same design gives you plenty of room to experiment with embellishments, mixed media, or alternate closures.
That flexibility means one project idea can stretch across multiple occasions, which makes it even more valuable to have in your creative toolbox.
Give Yourself Permission to Keep It Simple
Projects like this are a good reminder that handmade gifts don’t need to be overly elaborate to feel meaningful. A thoughtful design, a fun interactive detail, and a coordinated theme are often all you need to create something memorable.
If you’ve been wanting to try making your own handmade gift card holder box, don’t worry about getting every detail perfect. Focus on creating something functional and fun, and let the structure do the hard work. Once you make one, you’ll start seeing endless ways to personalize the design for different occasions.

Watch the Video
And if you haven’t watched the video yet, seeing the box come together visually will make the whole process even easier.
You can watch the process here: How to Make a Boy Band Gift Card Holder Box for Any Occasion
If you have problems watching the video here on my blog you can always watch it on my YouTube Channel by Clicking Here!
(Wondering what I used in this video? Everything is linked to multiple sources in the thumbnails at the end of this post, or in the text below. Compensated affiliate links used when possible). As always I appreciate your support of my videos!
Materials Used:
Here you will find the list of supplies that I used to create today's card. All supplies are linked to supply sources below. Compensated affiliate links may be used at no cost to you.
Happy Crafting,

Rick Adkins
Affiliate Disclaimer:
Just a friendly reminder, as part of my commitment to transparency, please note that some of the links provided maybe affiliate links. This means that if you make a purchase through these links, I may earn a small commission at no extra cost to you. Your support is truly appreciated!
Additionally, I kindly ask that you always accept the tracking cookie for the affiliate websites. Rest assured, this will not in any way expose your computer to viruses or compromise your information. It's simply necessary for the company to attribute the sale to the affiliate, ensuring creators like myself receive their rightful commissions.
Your trust and support enable me to continue sharing creativity through my email lists, blog, and YouTube channel. Thank you for being a valued part of our crafting community!


Comments